1 Client installation and uninstallation
Raysync client supports the installation of windows server 2008/ windows server 2012/ windows server 2016/windows 7/windows 8/windows 10/mac os 10.11 and above.
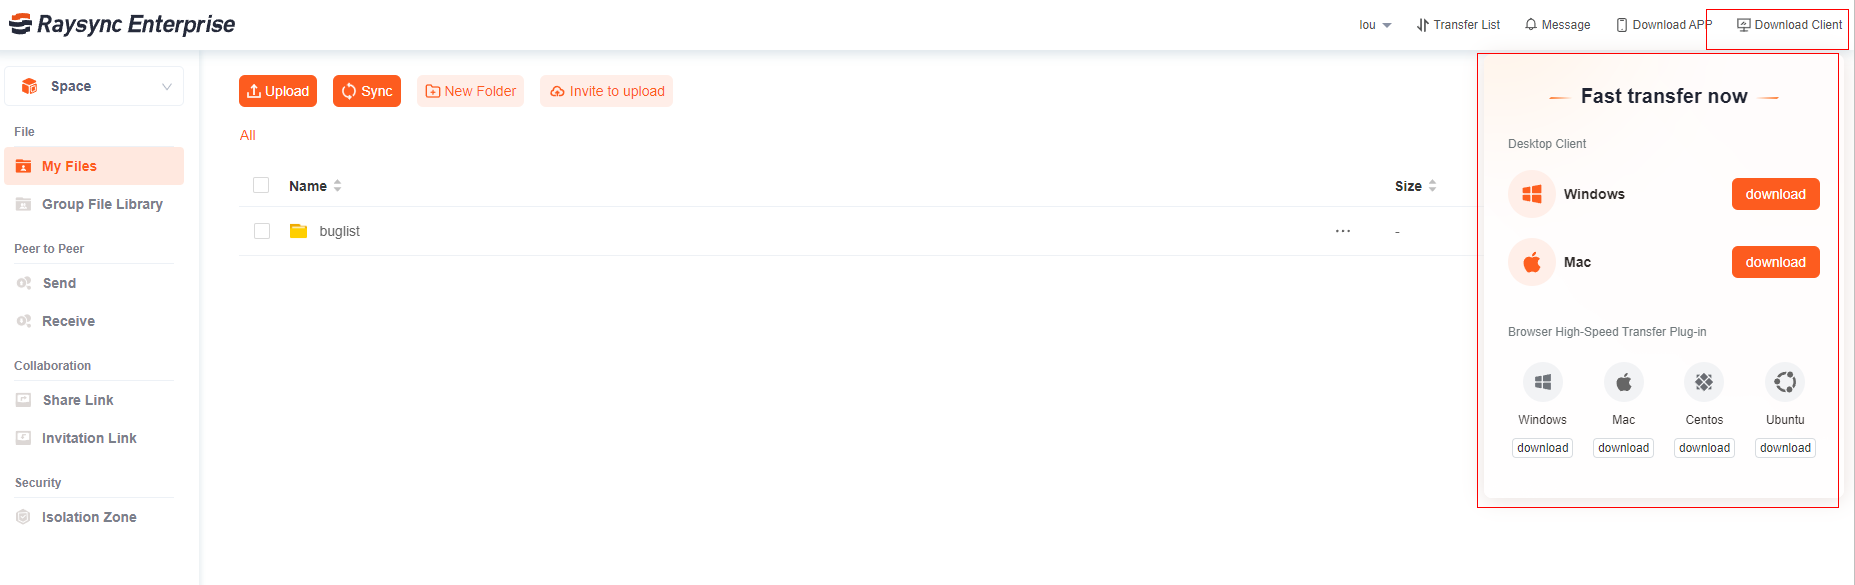
1.1 Download client
If the client is not installed or started, click the "Client Download" button and select the client of the corresponding platform to download.
1) Use Desktop client for high-speed experience without webpage.
2) Use the Browser plug-in client to perform high-speed file transfer through the web page.
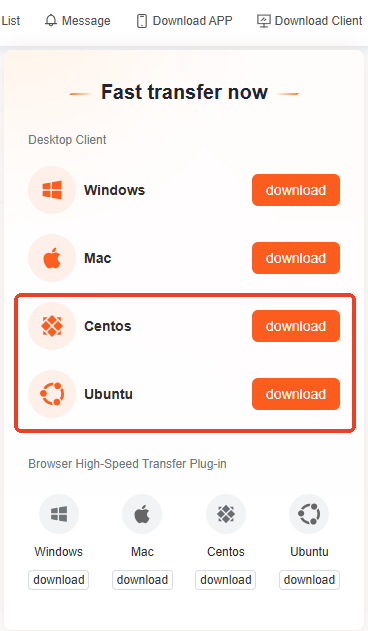
1.2 Desktop Client: Linux Version Now Available
Raysync Desktop Client upgrade supports Linux system, which can meet your needs for client operation on Linux system.
1.3 Install the client
1) Install Desktop client
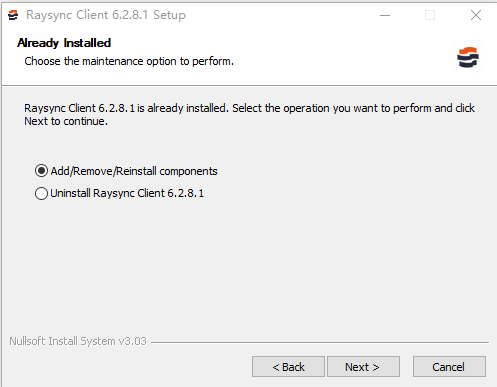
After the download is successful, double-click on it to start the installation
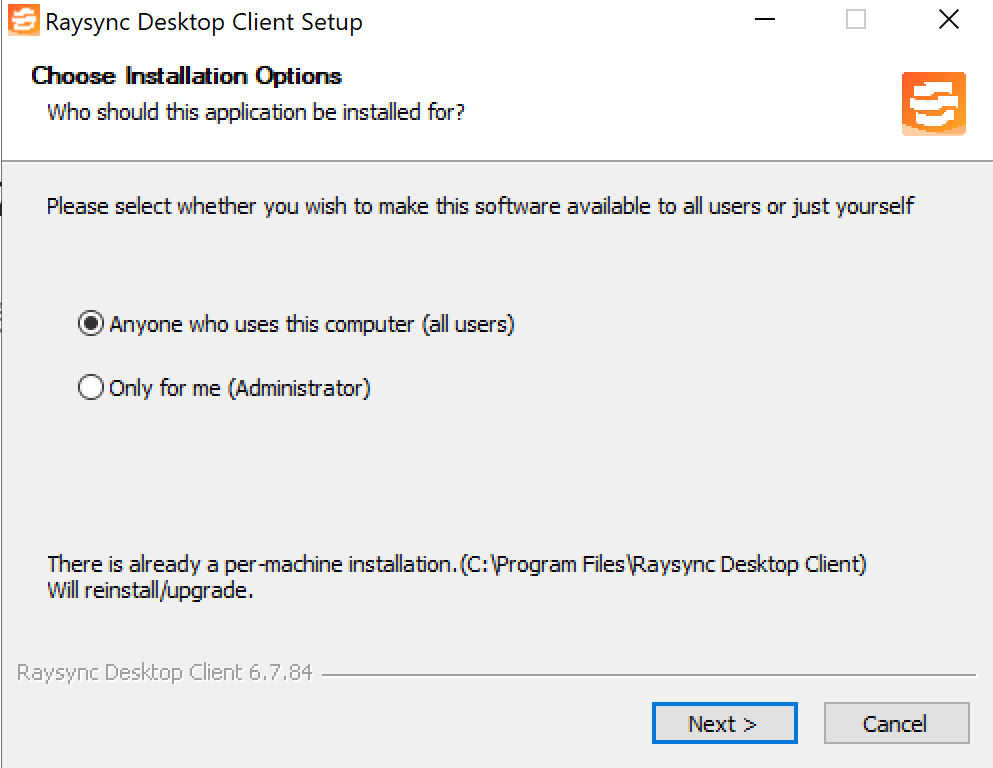
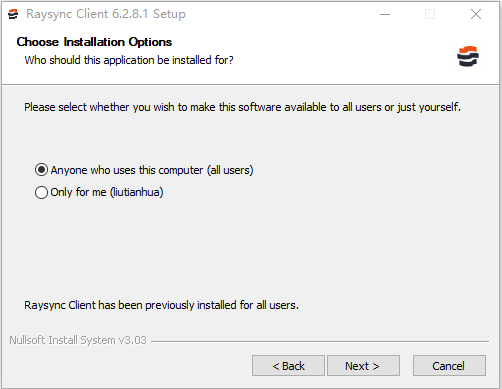
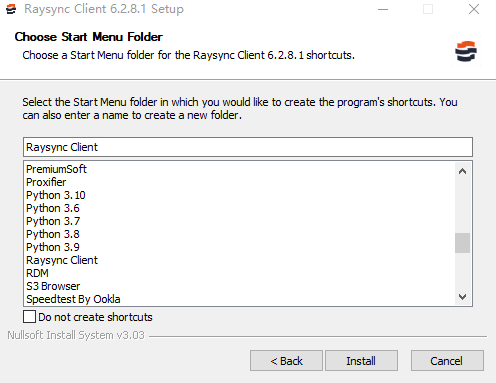
- Select installation options and click [Next]
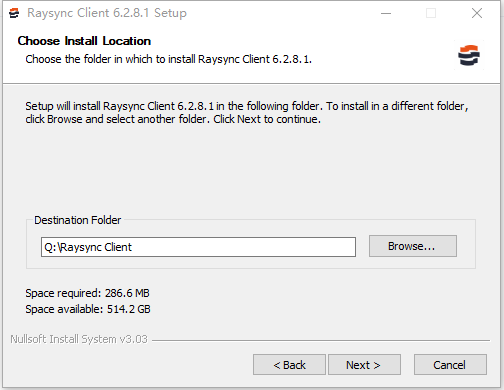
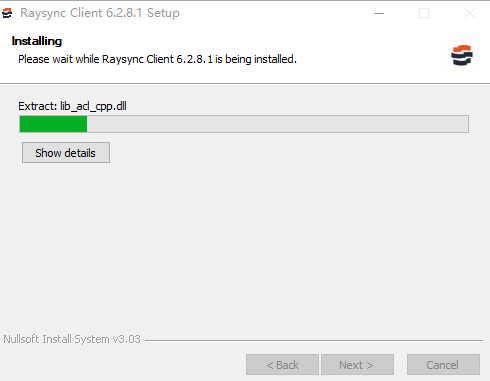
- Select the path to install and click [Install]
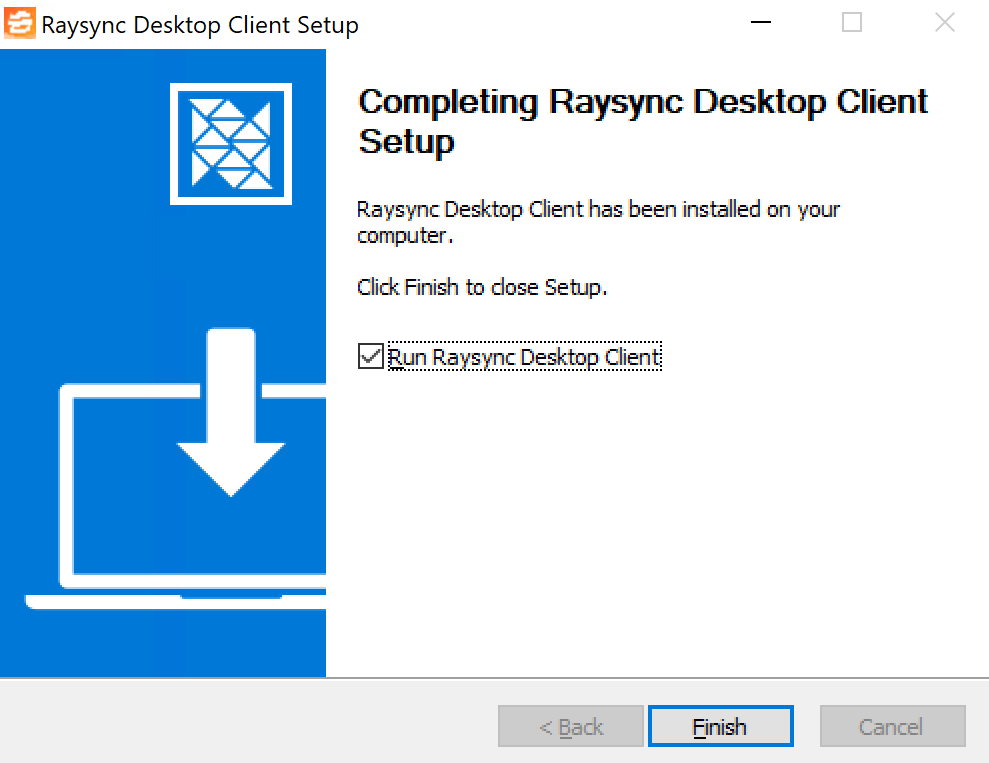
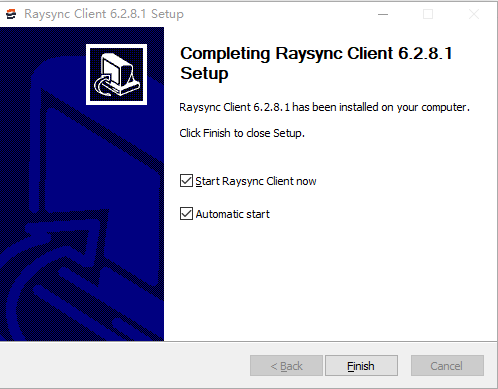
- After the installation is complete, click Finish to run the desktop client
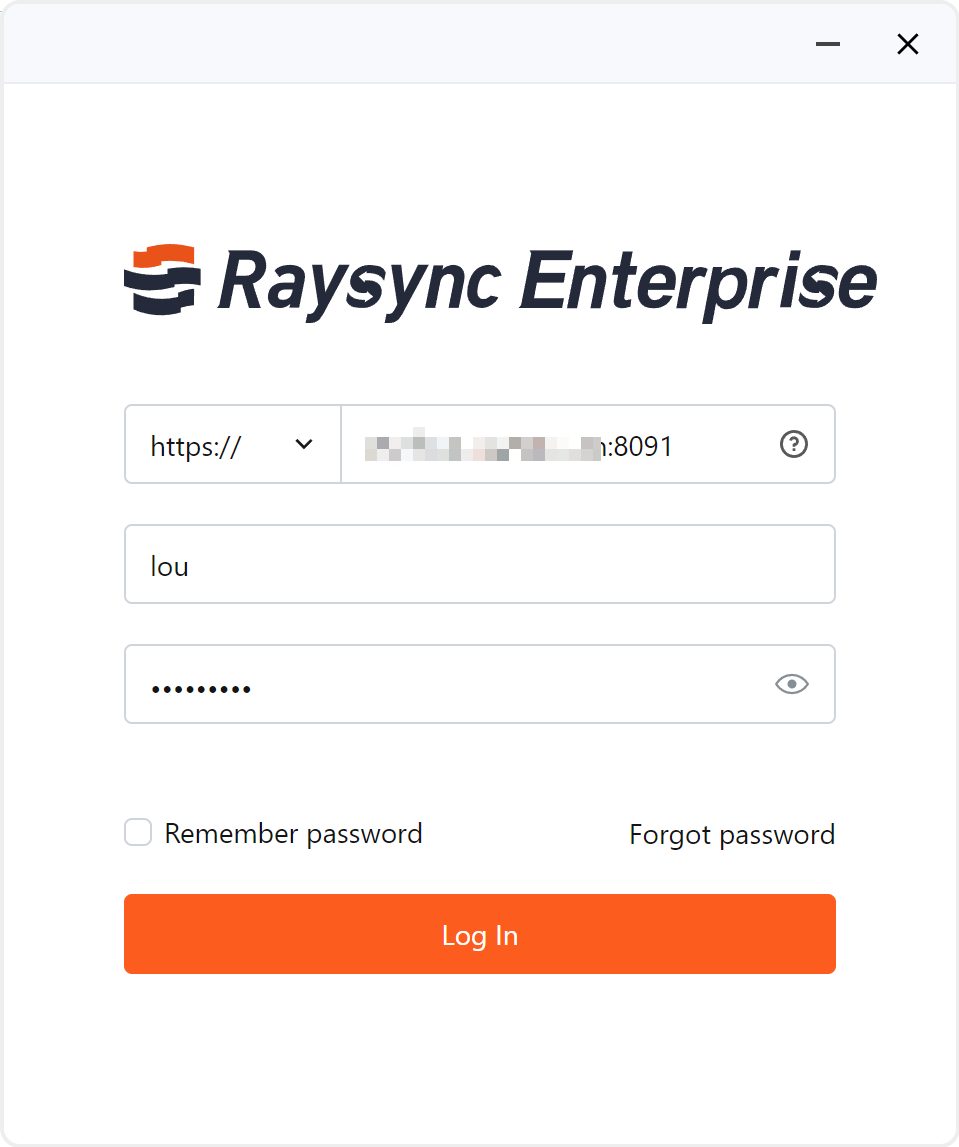
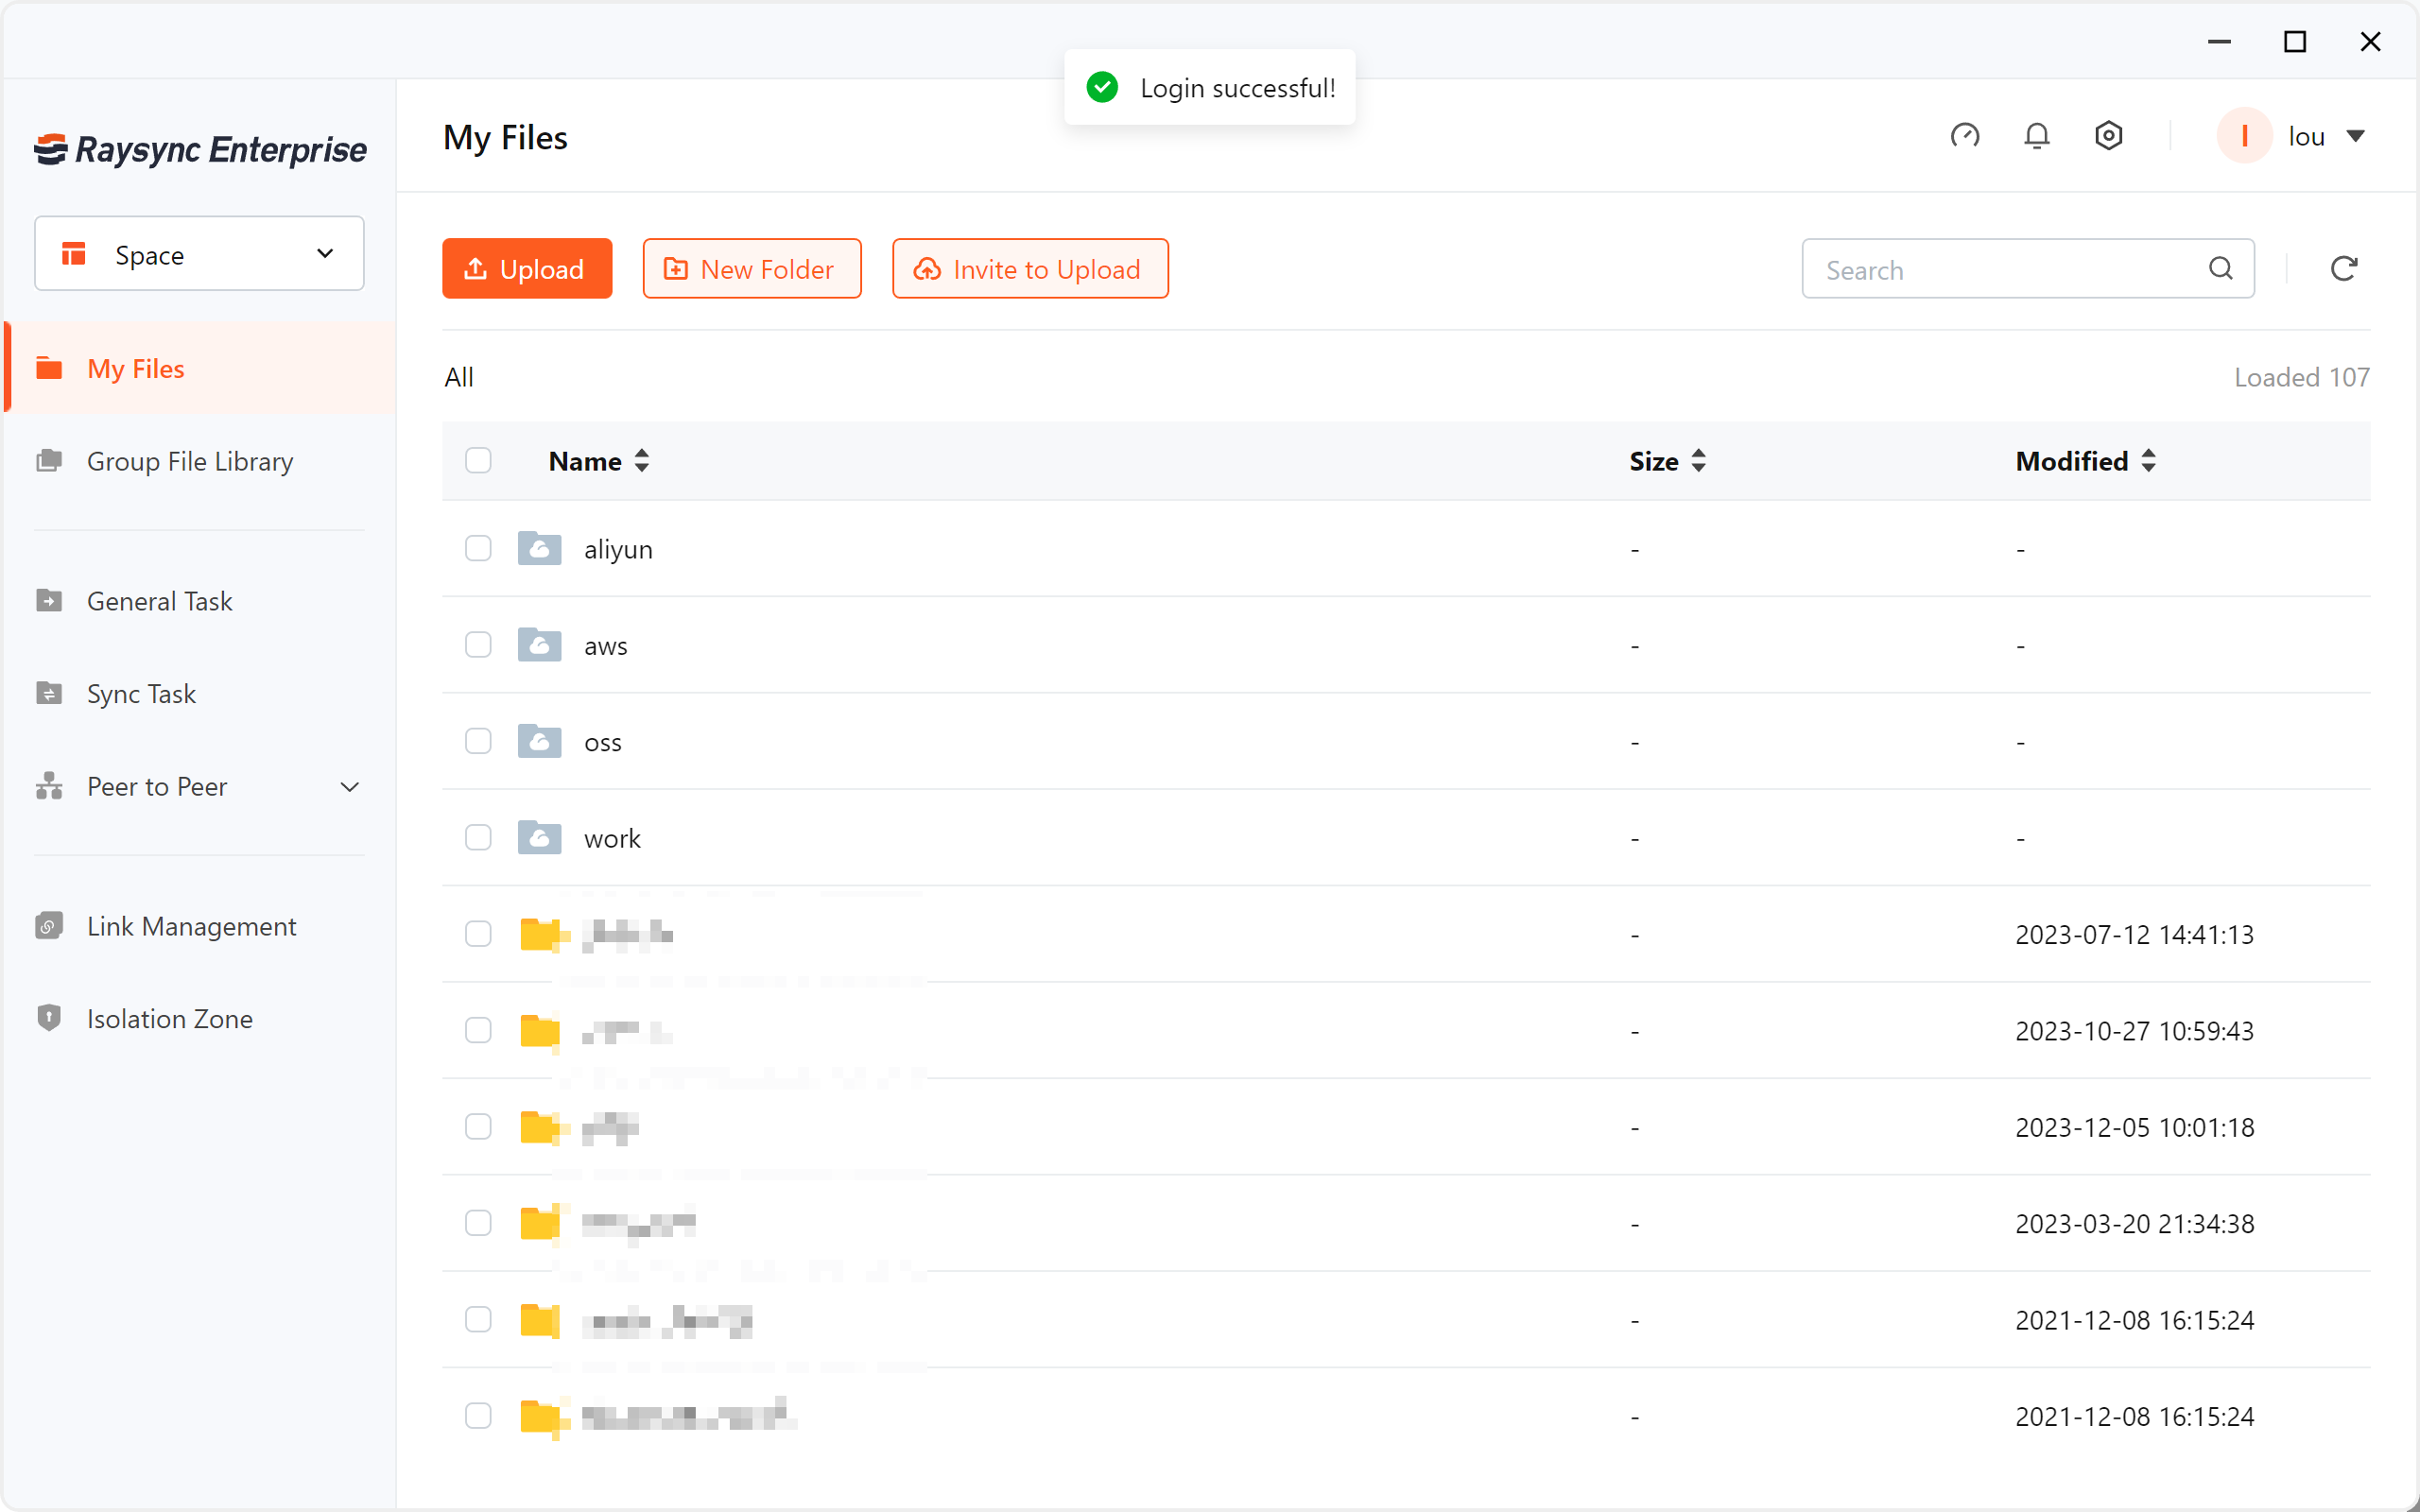
After starting the desktop client, enter the server address (the default server IP address + port number 8090, for example, http://192.168.1.1:8090), as well as your account and password to log in to the desktop client for high-speed transmission.
2) Install Browser transfer plug-in
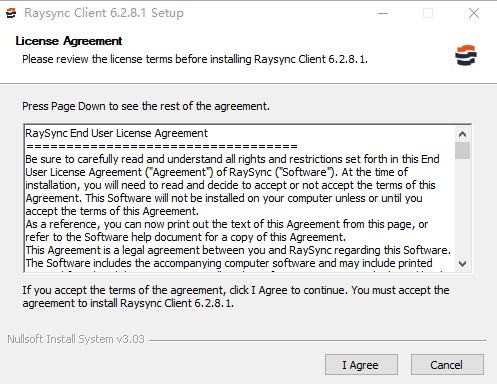
- After the download is successful, double-click to open to start the installation, as shown below
-
Read the software installation agreement and click I accept to proceed to the next step
-
Select the installation option and click Next
-
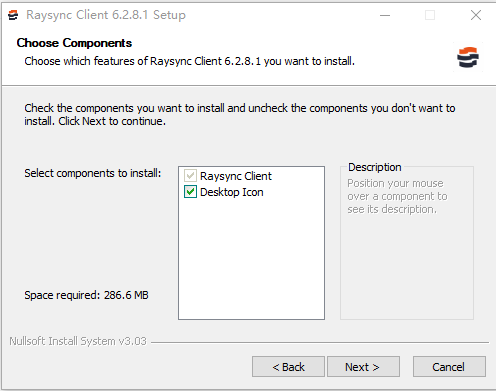
Select the components to be installed and click Next
- Select the path to be installed and click Next
- Select Install, and click Finish after the installation is complete
1.4 Start the client
Startup method 1
- After the user logs in to the webpage, the system will check whether the Raysync client has been activated. If the Raysync client is not activated, it will automatically switch to the web page tcp connection mode, which only supports normal upload/normal download/invite to upload/ Share to download. If you need to use other functions, you need to start the Raysync client.
-
Click Transfer List on the Raysync front-end web page. The prompt dialog box for startup or download will pop up. Click the "Start" button.
- A message is displayed asking you whether to open raysync-watch. exe. Click to open the application and wait until the startup is complete.
Startup method 2
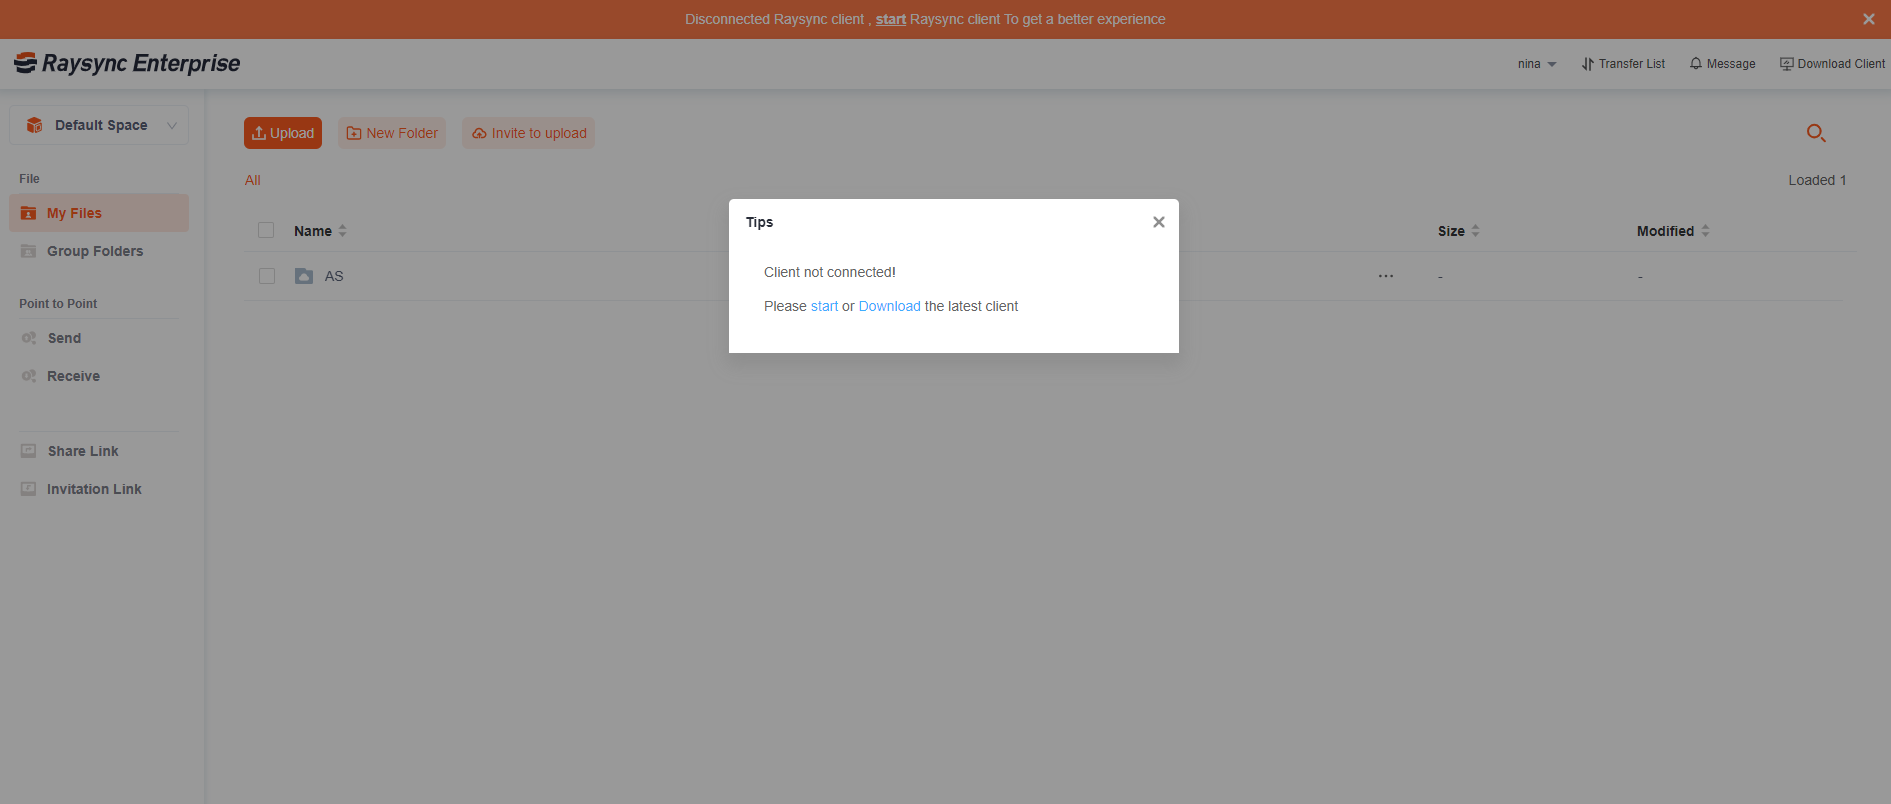
- If the message that the client is not connected pops up, click "Start".
- A message is displayed asking you whether to open raysync-watch. exe. Click to open the application and wait until the startup is complete.

1.5 Uninstall the client
Uninstall method 1
-
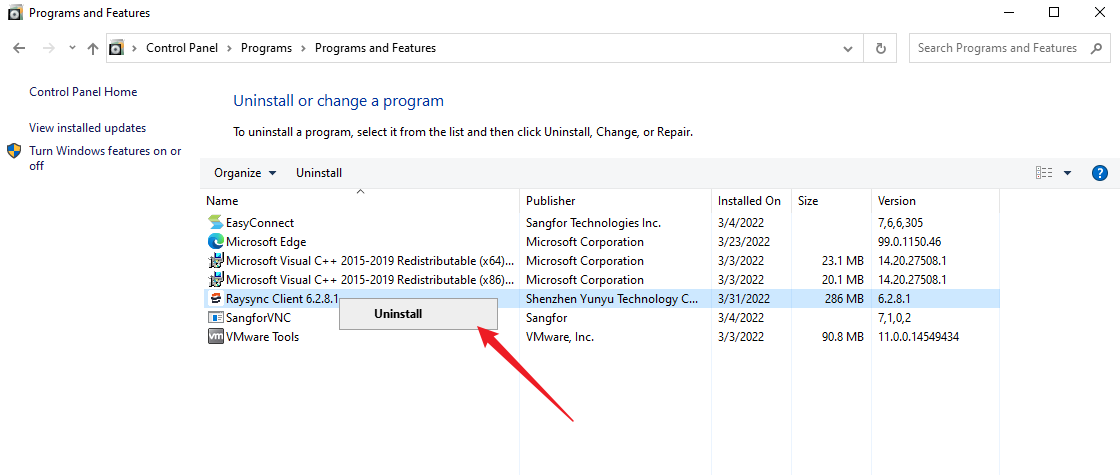
Enter Windows "Control Panel" -> "Programs" -> "Programs and Features"
-
Select the Raysync client program, right-click to uninstall.
Uninstall method 2
-
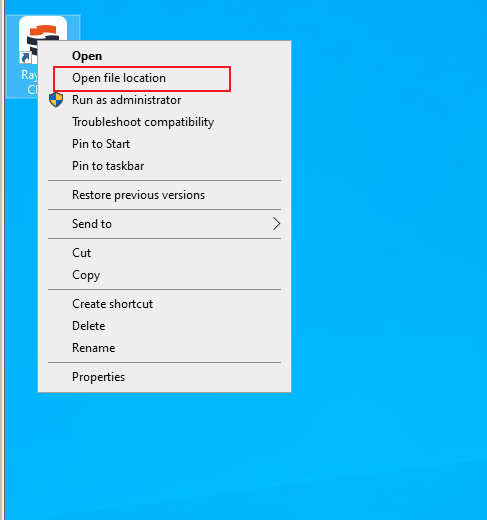
Right-click on the desktop Raysync client icon, click Open file location
-
Select uninstall.exe, right-click the uninstall.exe program, select Run as administrator, and Confirm to remove the client.


2 File Operations
Raysync supports two ways of transfer: web(without the client)and client. In the absence of a client (web), you can create a new folder/invite upload/download/share download/copy/move/delete/property/rename, while creating a synchronization task directory/previewing videos requires the installation of a client.
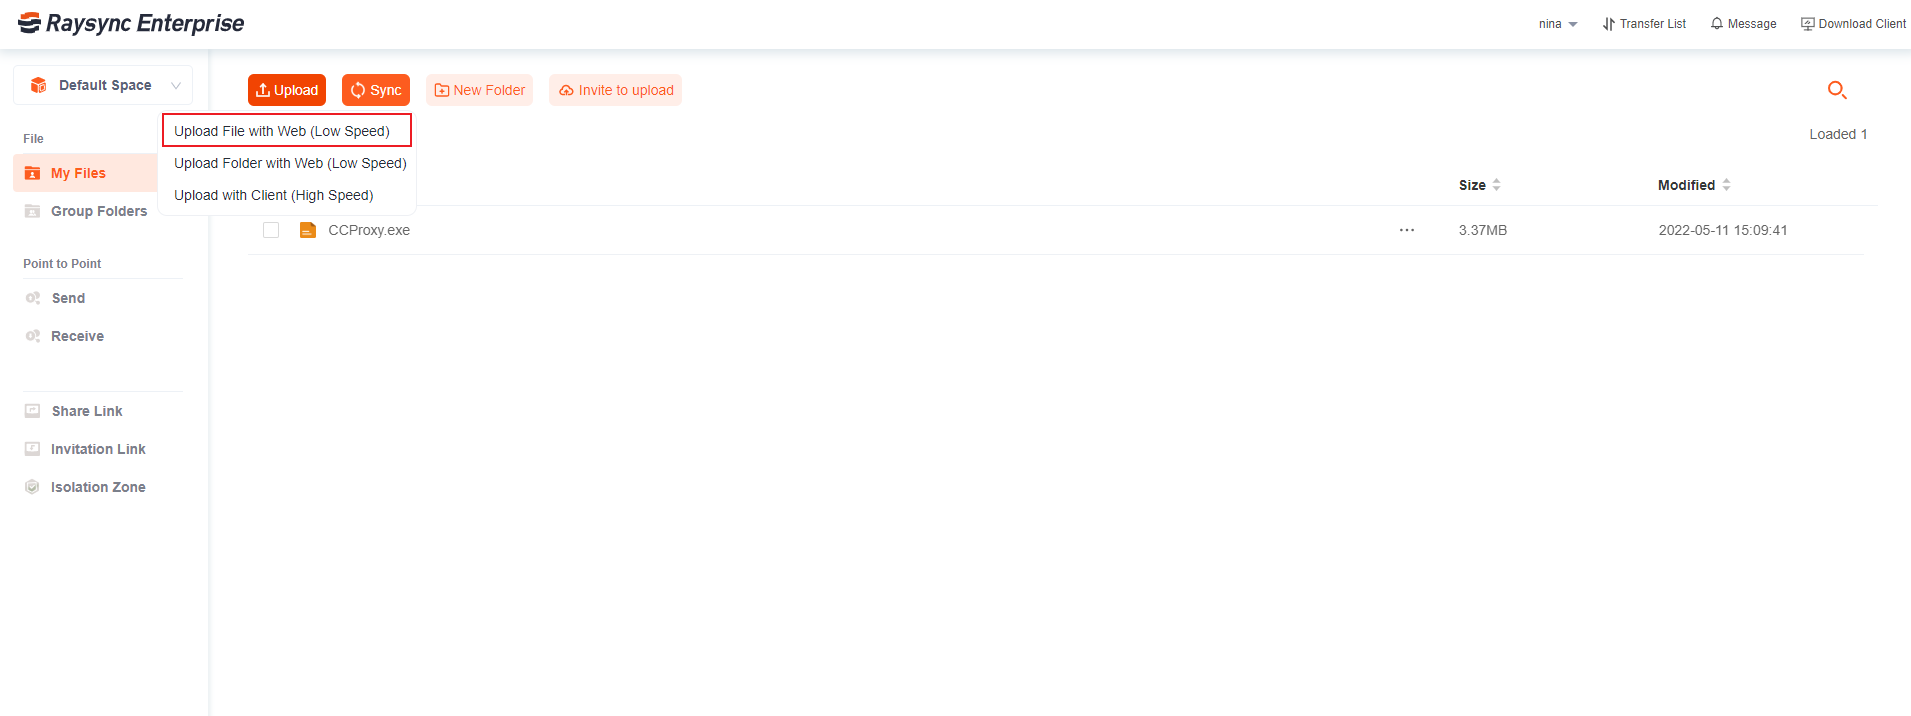
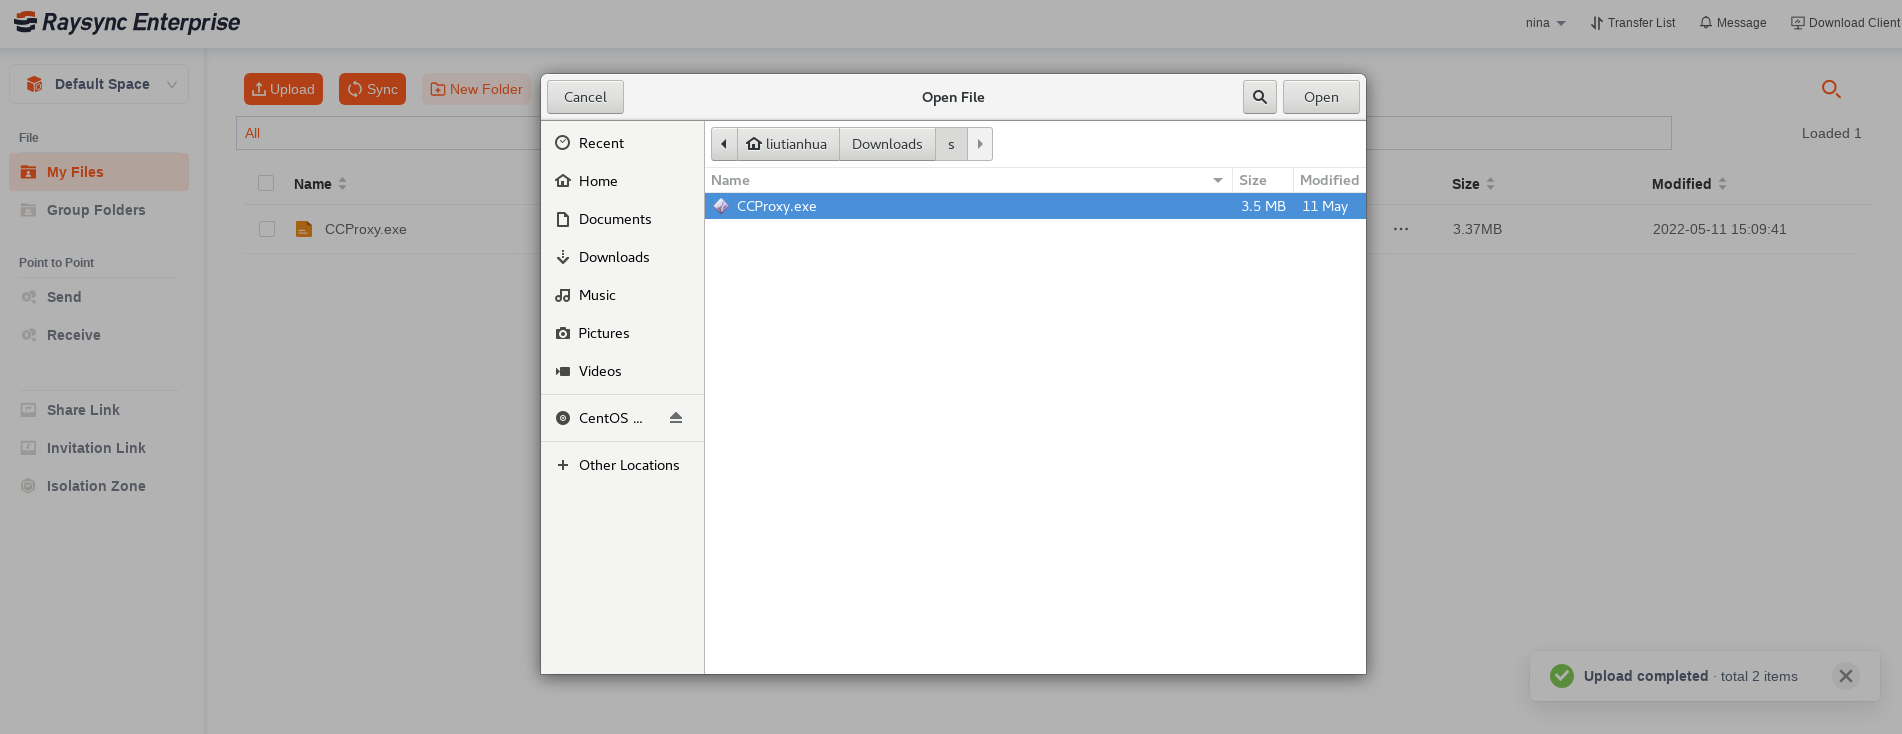
2.1 Upload file
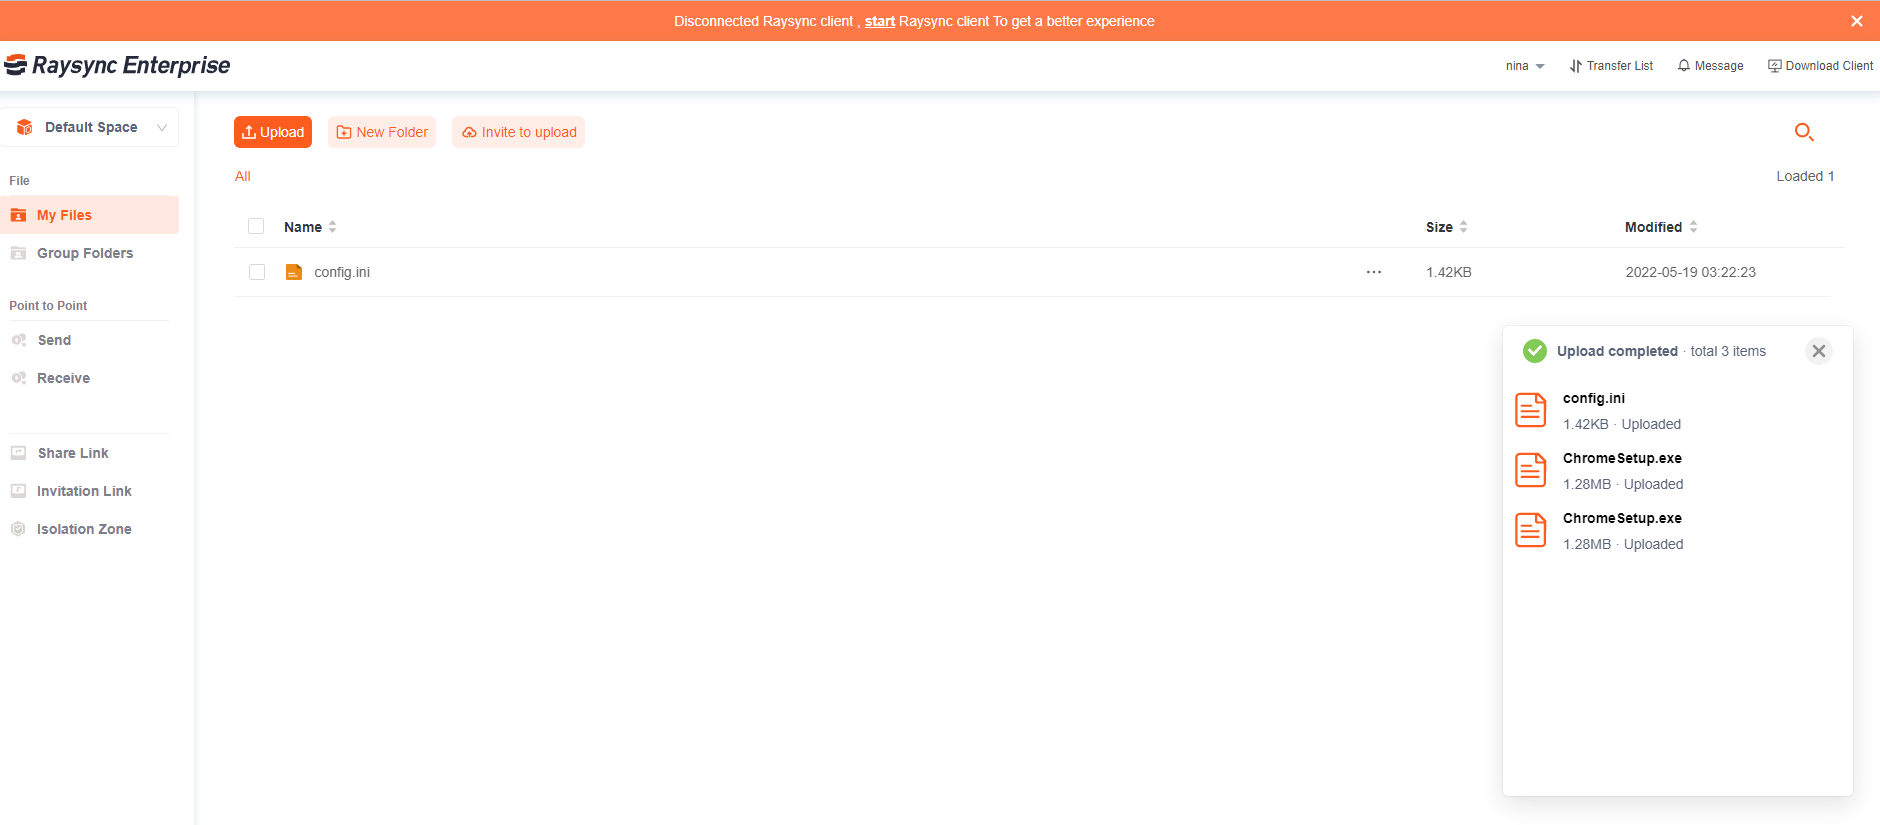
- Click Upload file with web Select the file to upload You can view the transfer progress of the selected uploaded file in the transfer list of bottom right corner of the web
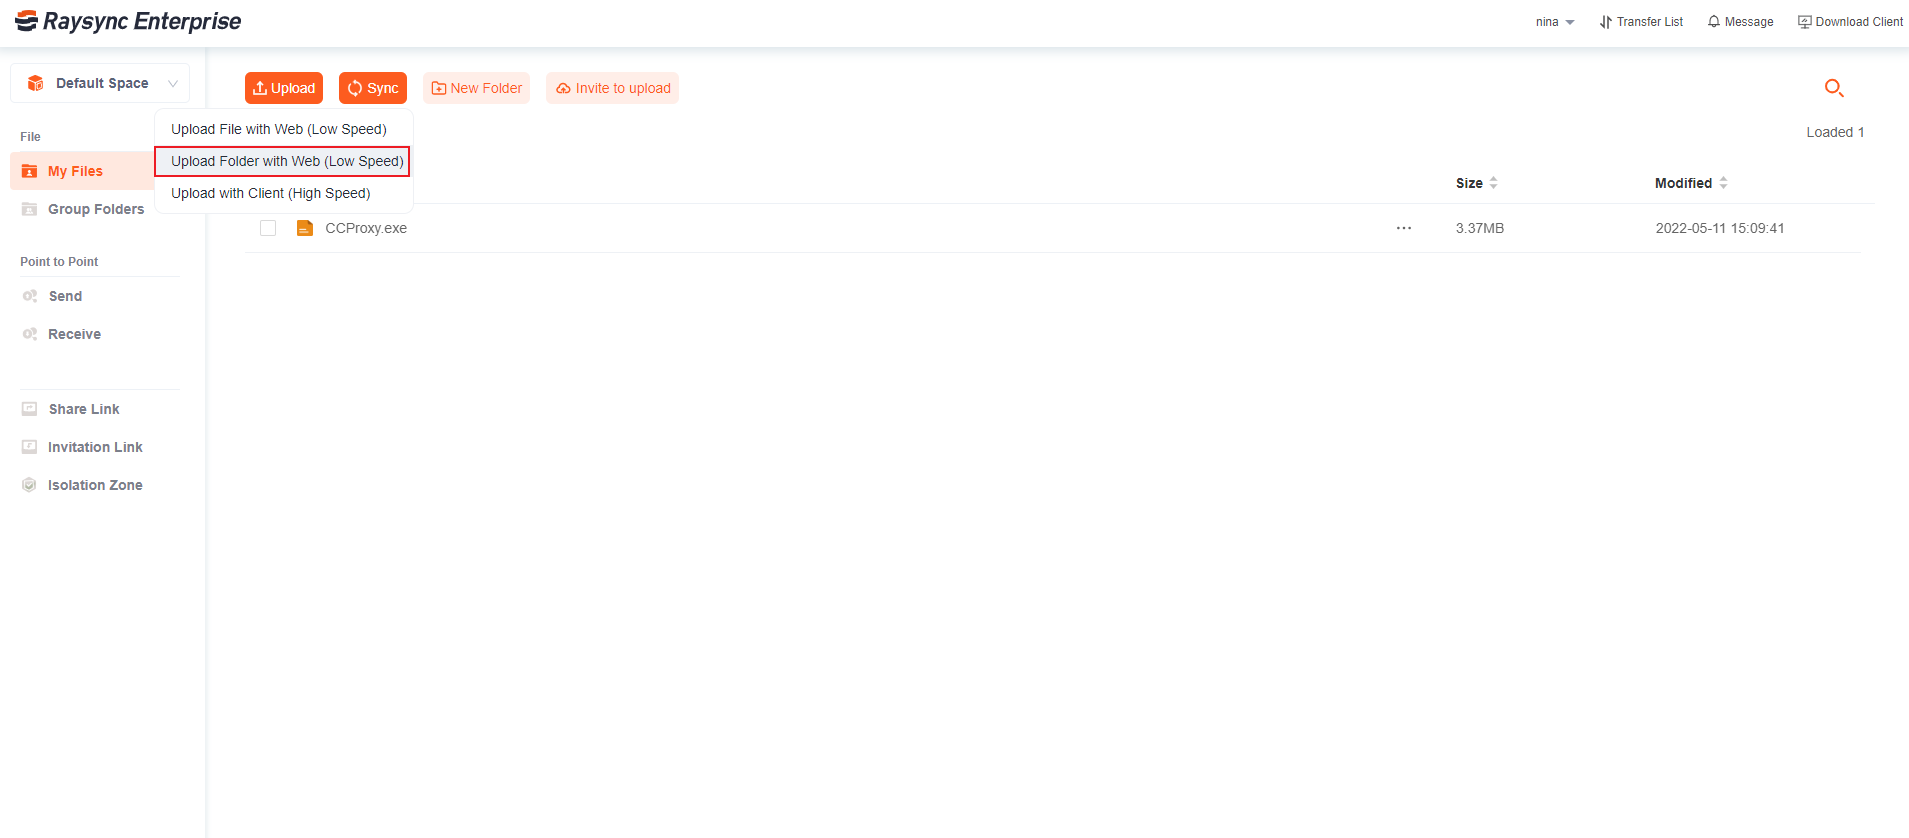
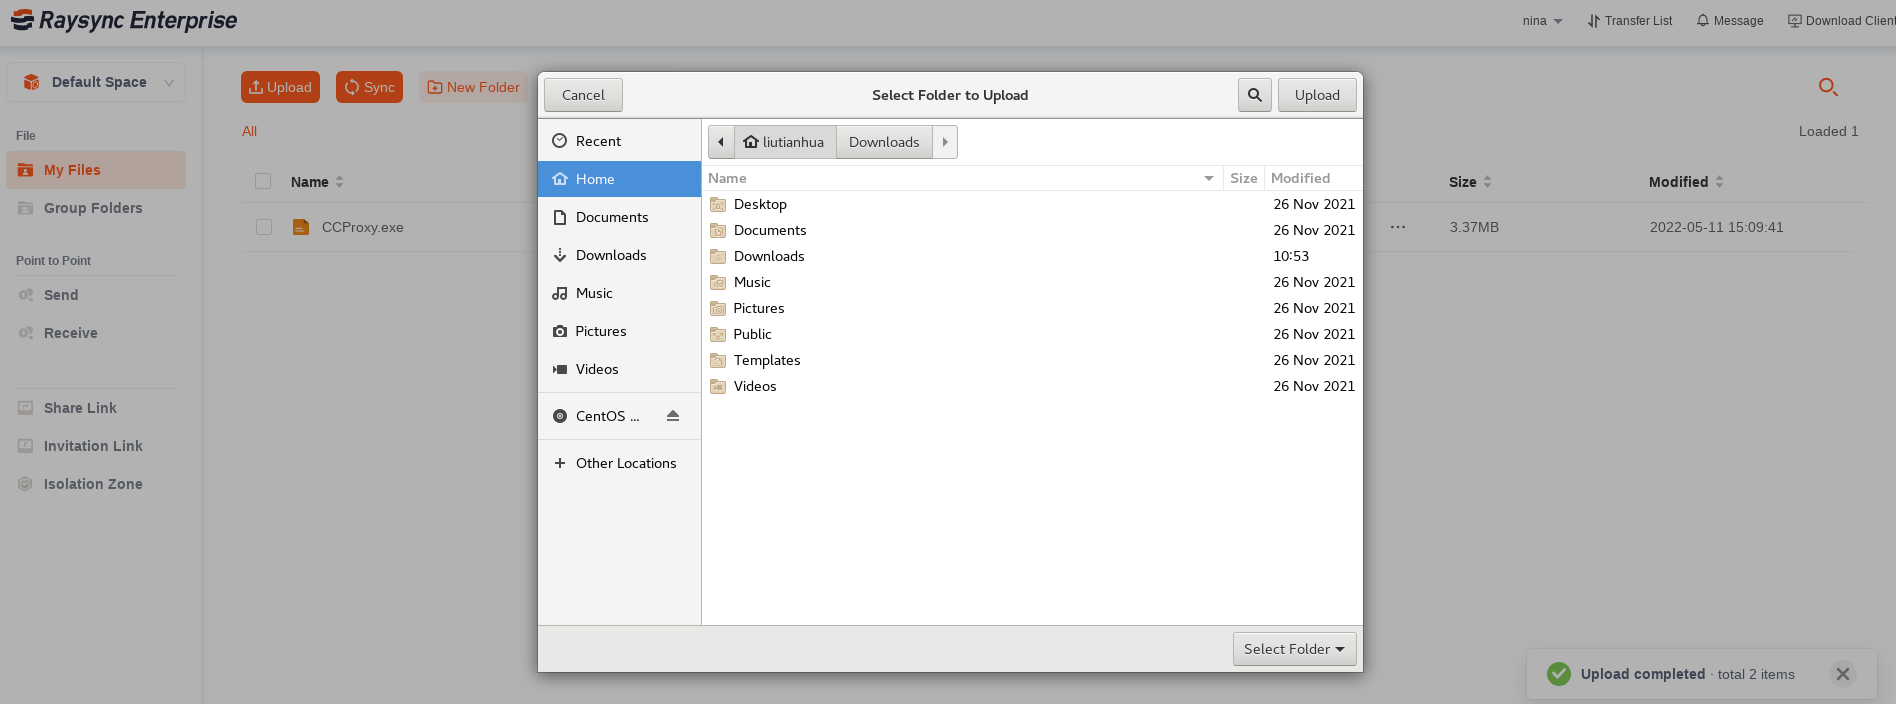
- Click upload folder with web Select the folder to upload You can view the transfer progress of the selected uploaded files in a folder in the transfer list of bottom right corner of the web.(not applicable to empty folder)
-
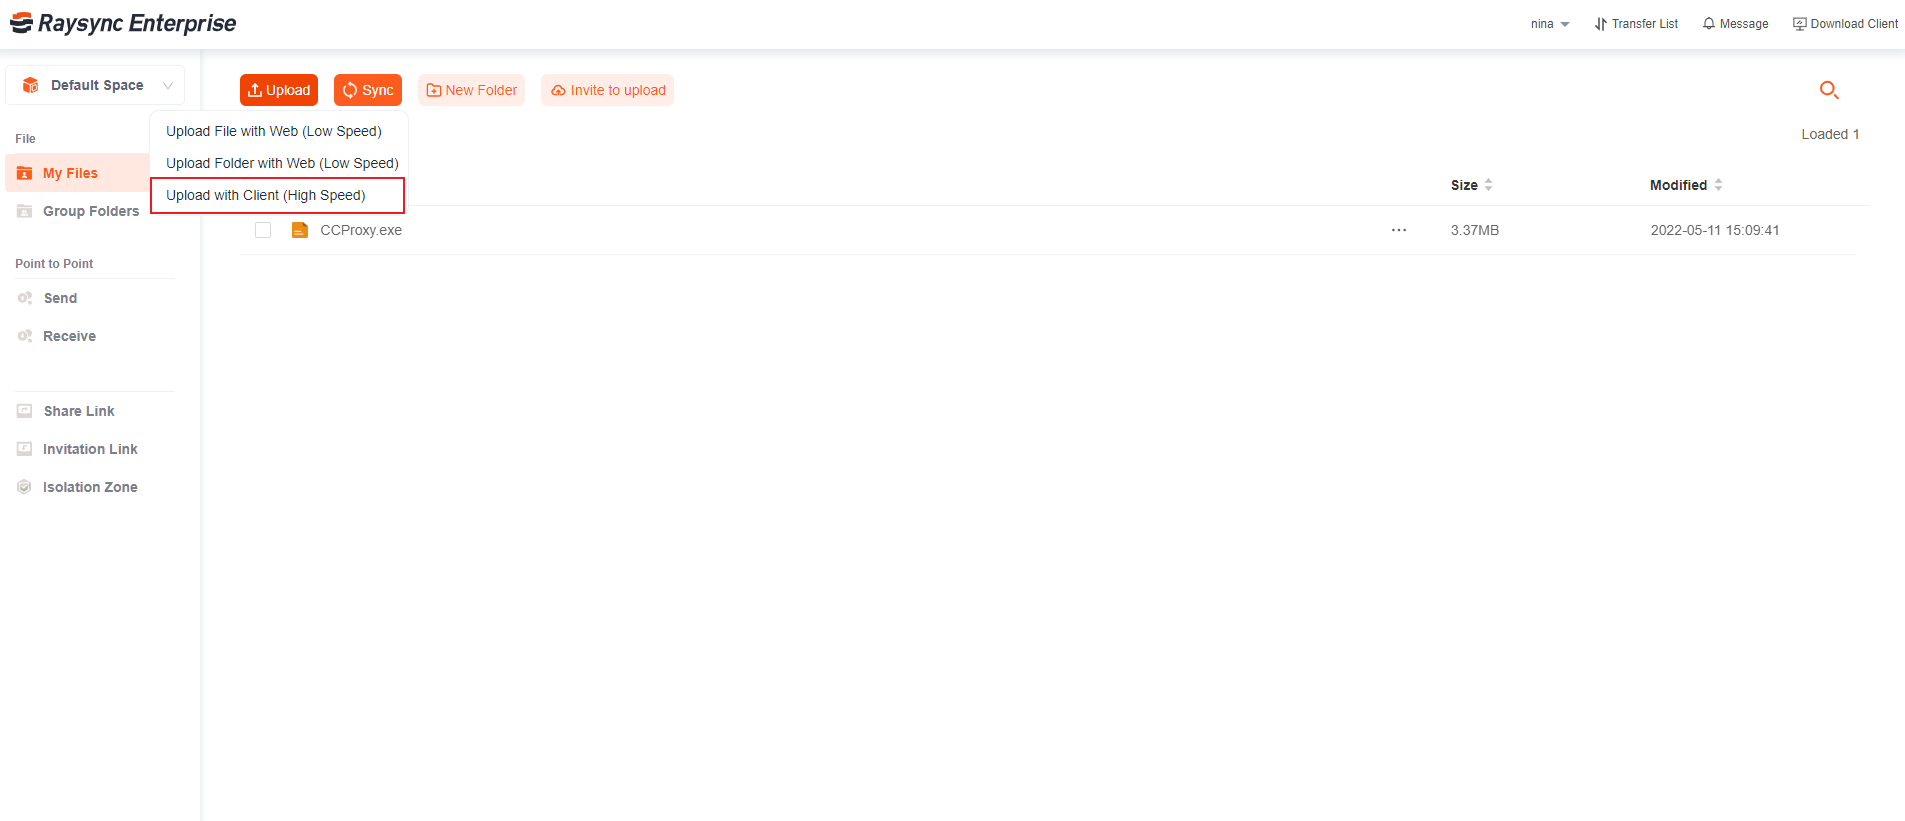
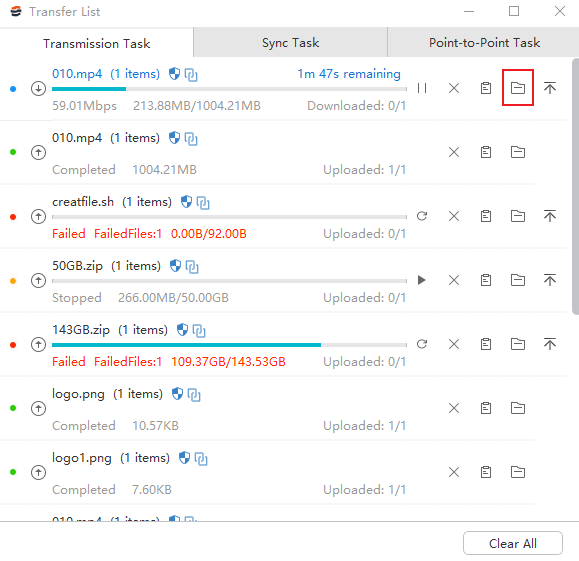
Click upload with client Select the file or folder to upload. You can view the transfer progress of the selected uploaded file in the transfer list of client.
- Drag and drop upload You can select and drag the file or folder you want to upload from the file manager, long press the left mouse button, and drag to the file list position of the raysync website, until the upload to my file/a directory appears, release the left mouse button to upload all the dragged files.
First step:
Second step:
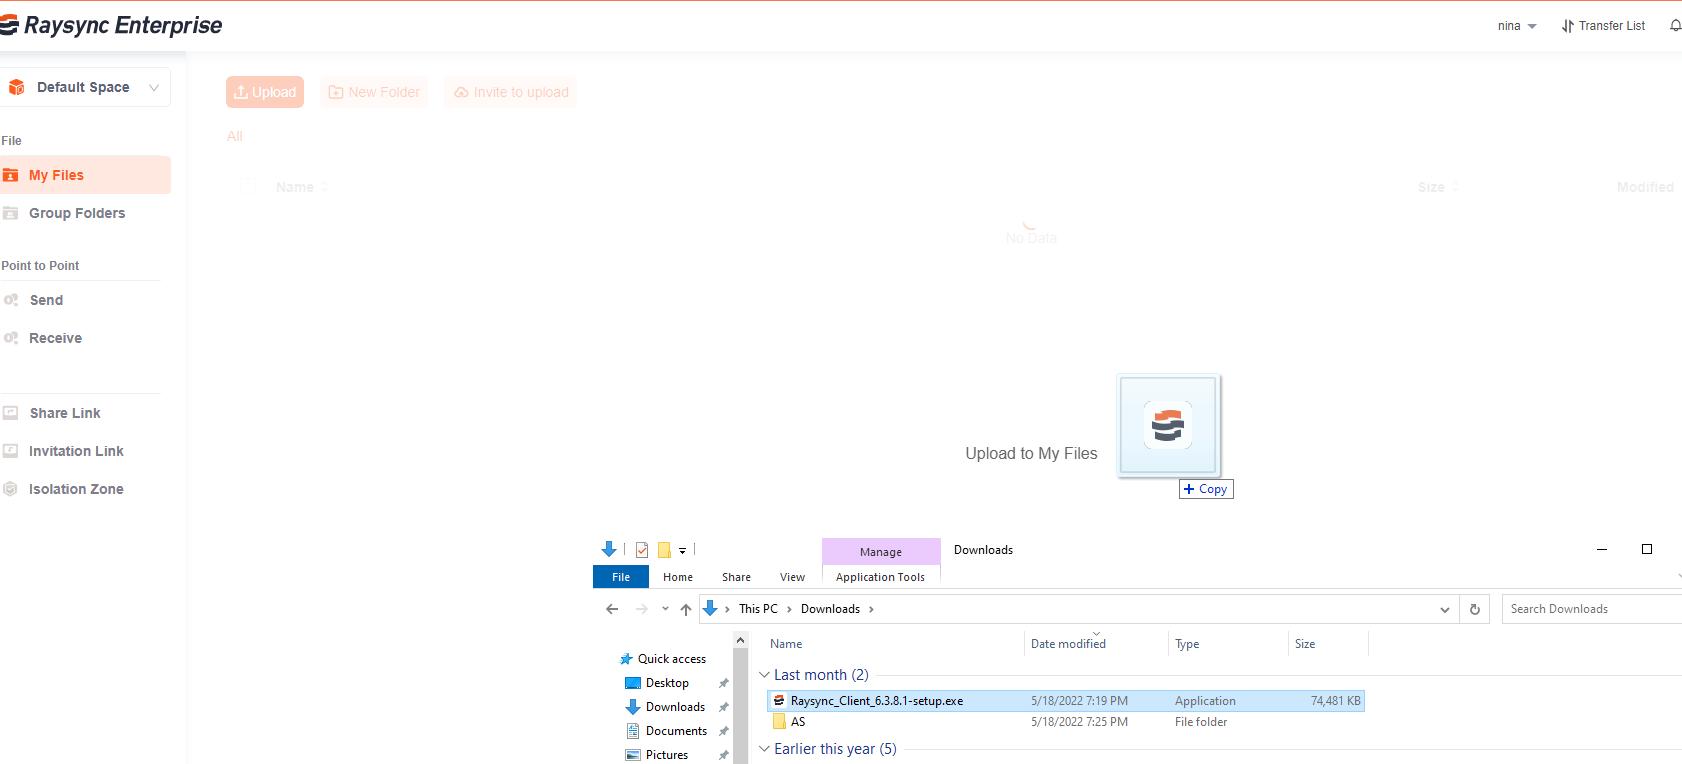
Third step:
2.2 Download file
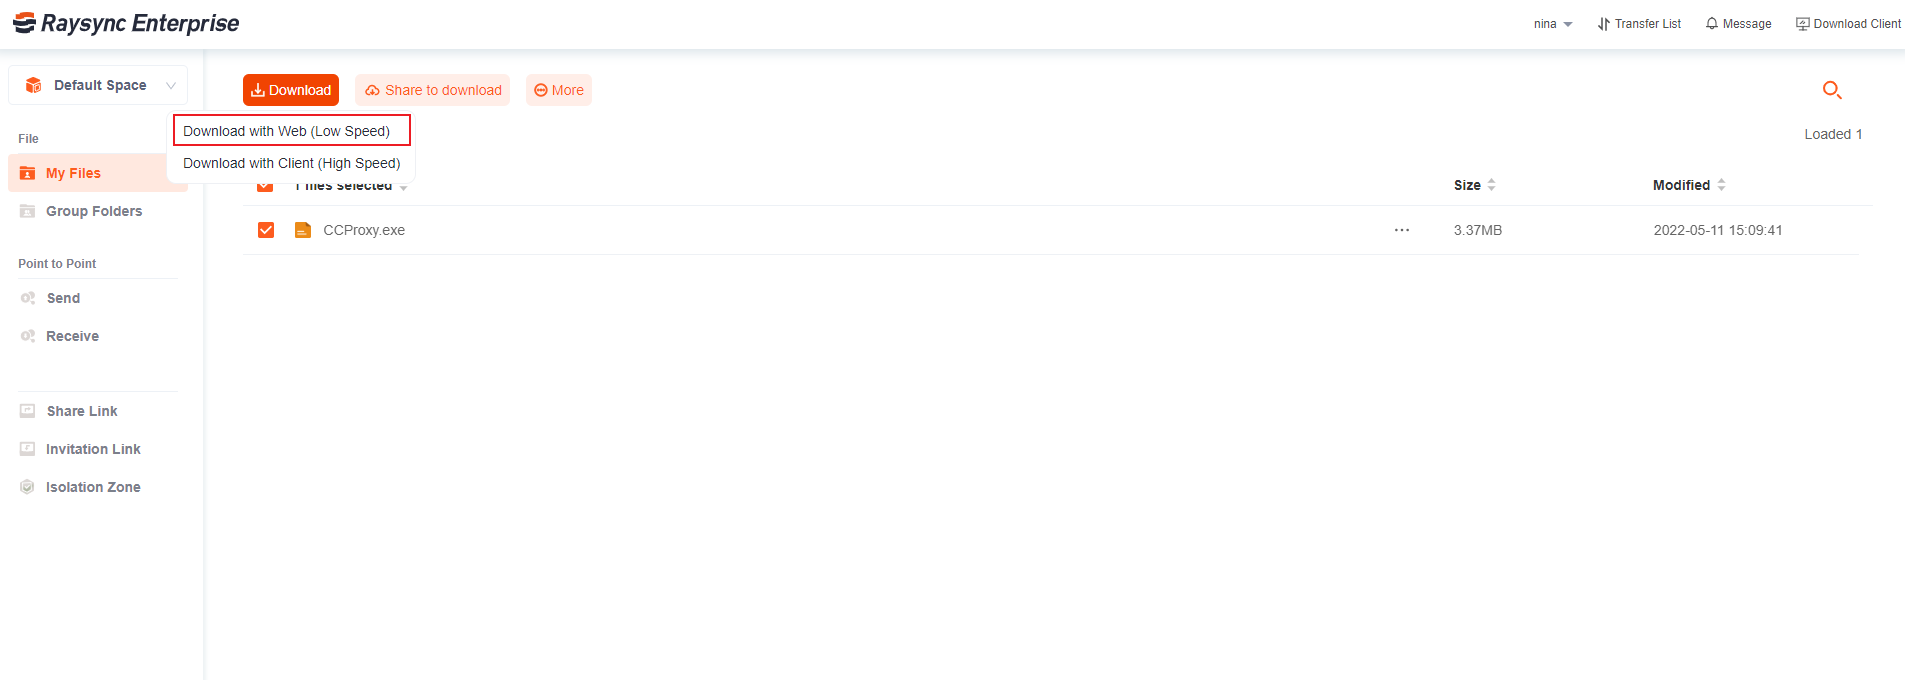
- Select the file or folder to download Click the download with web,you can view the download progress of the selected file or folder in the browsers's downloads.
-
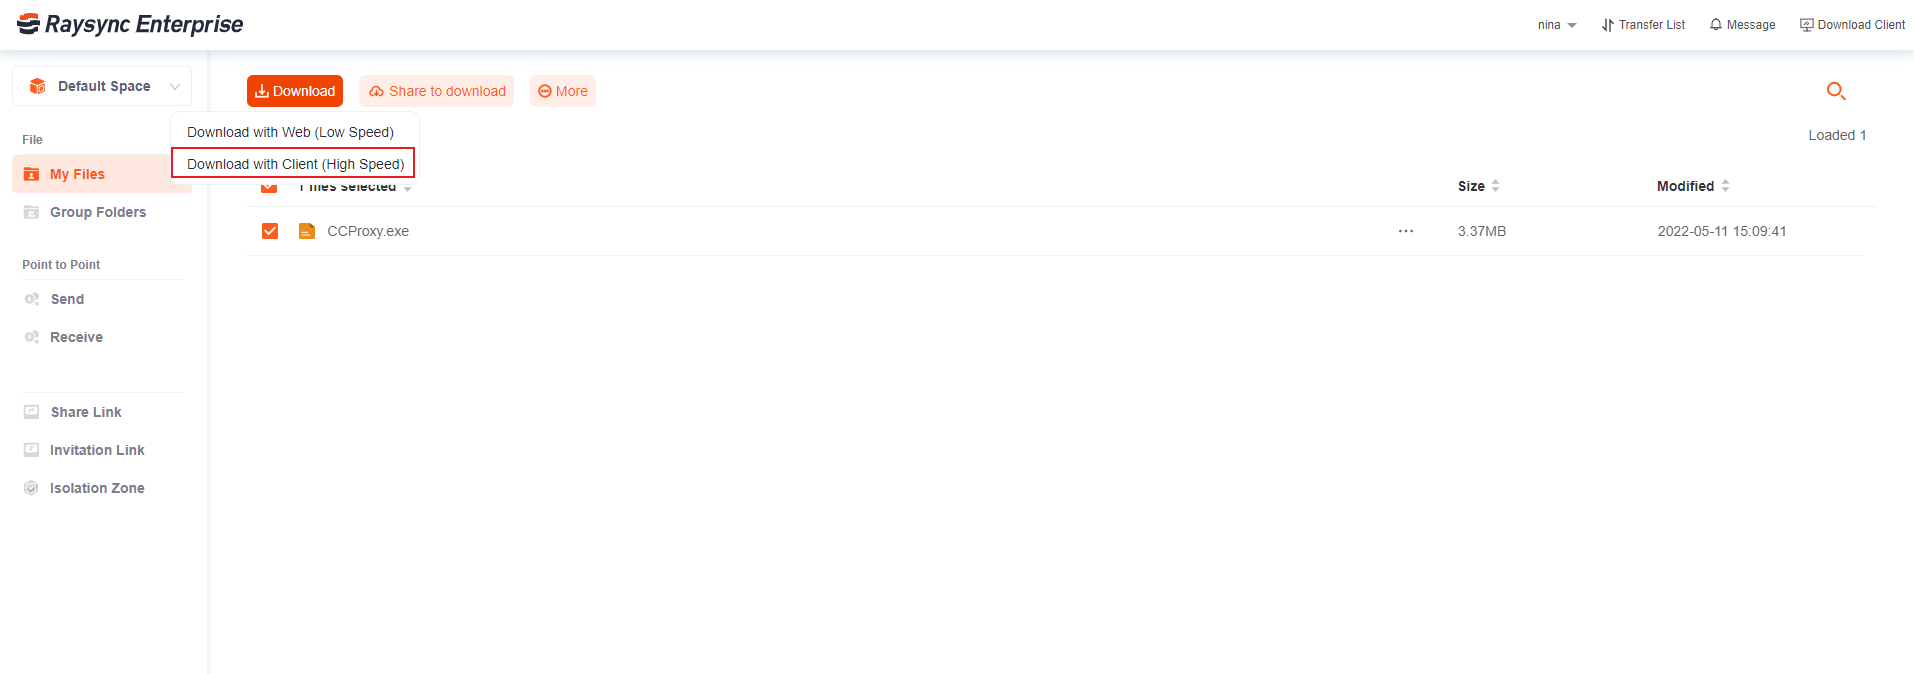
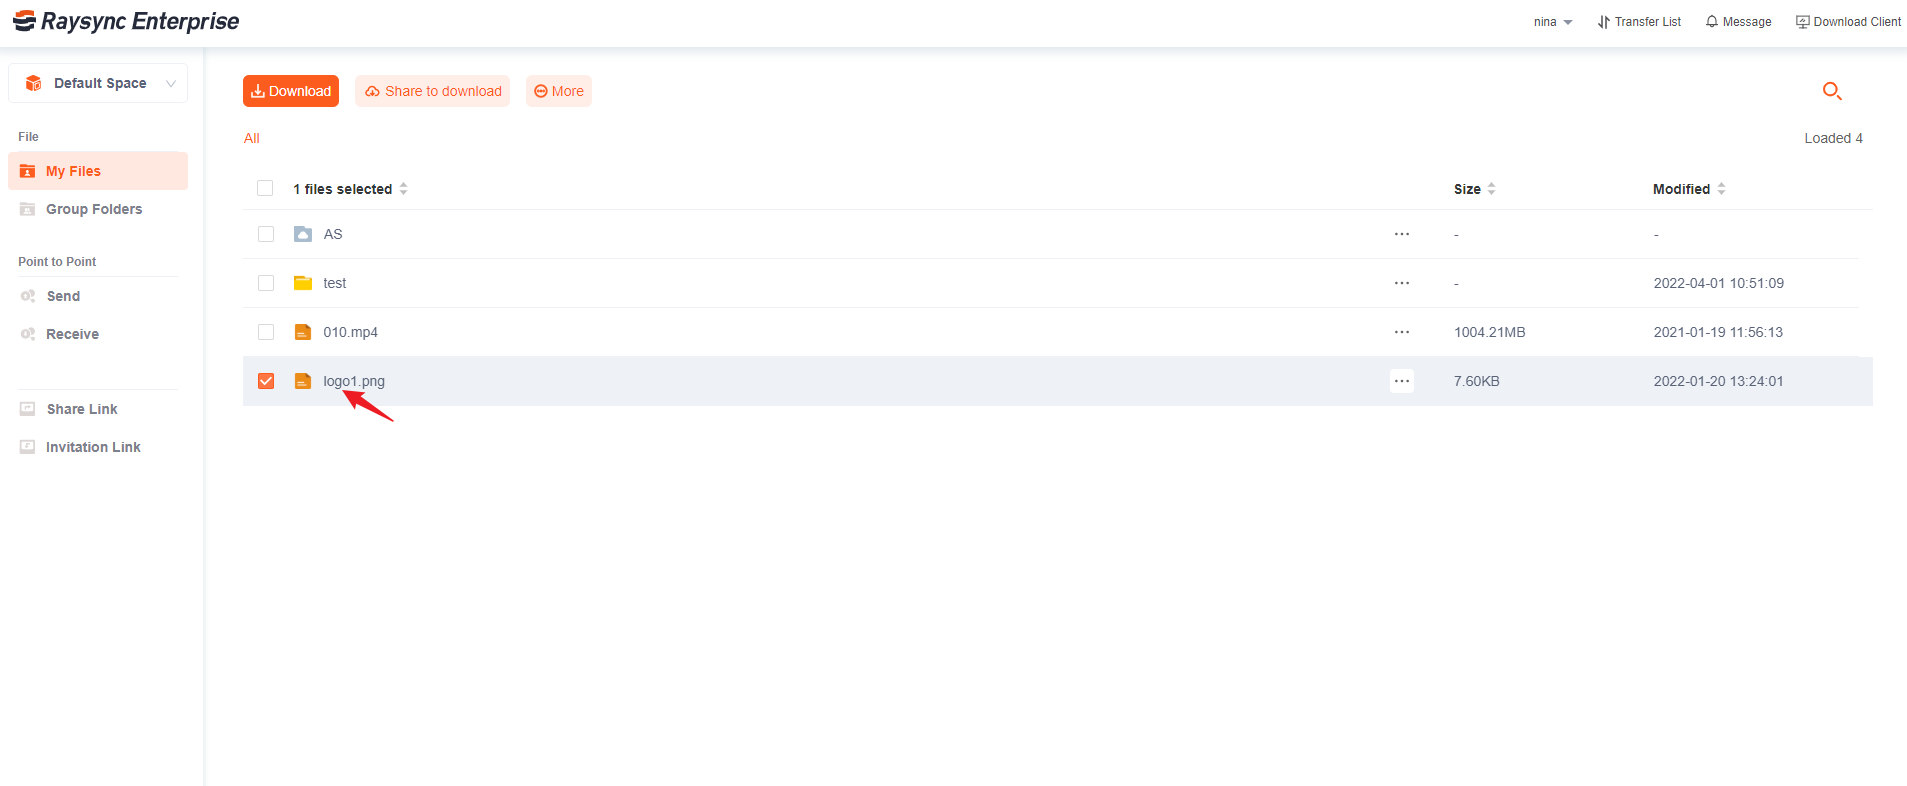
Select the file or folder to download Click the Download button or select Download in the operation bar
-
You can view the download progress of the selected file of folder in the transfer list of the client
- After the file is downloaded, it will be saved in the selected path. Click the "Open File Directory" icon in the Raysync plugin to find the file just downloaded.
2.3 File operations
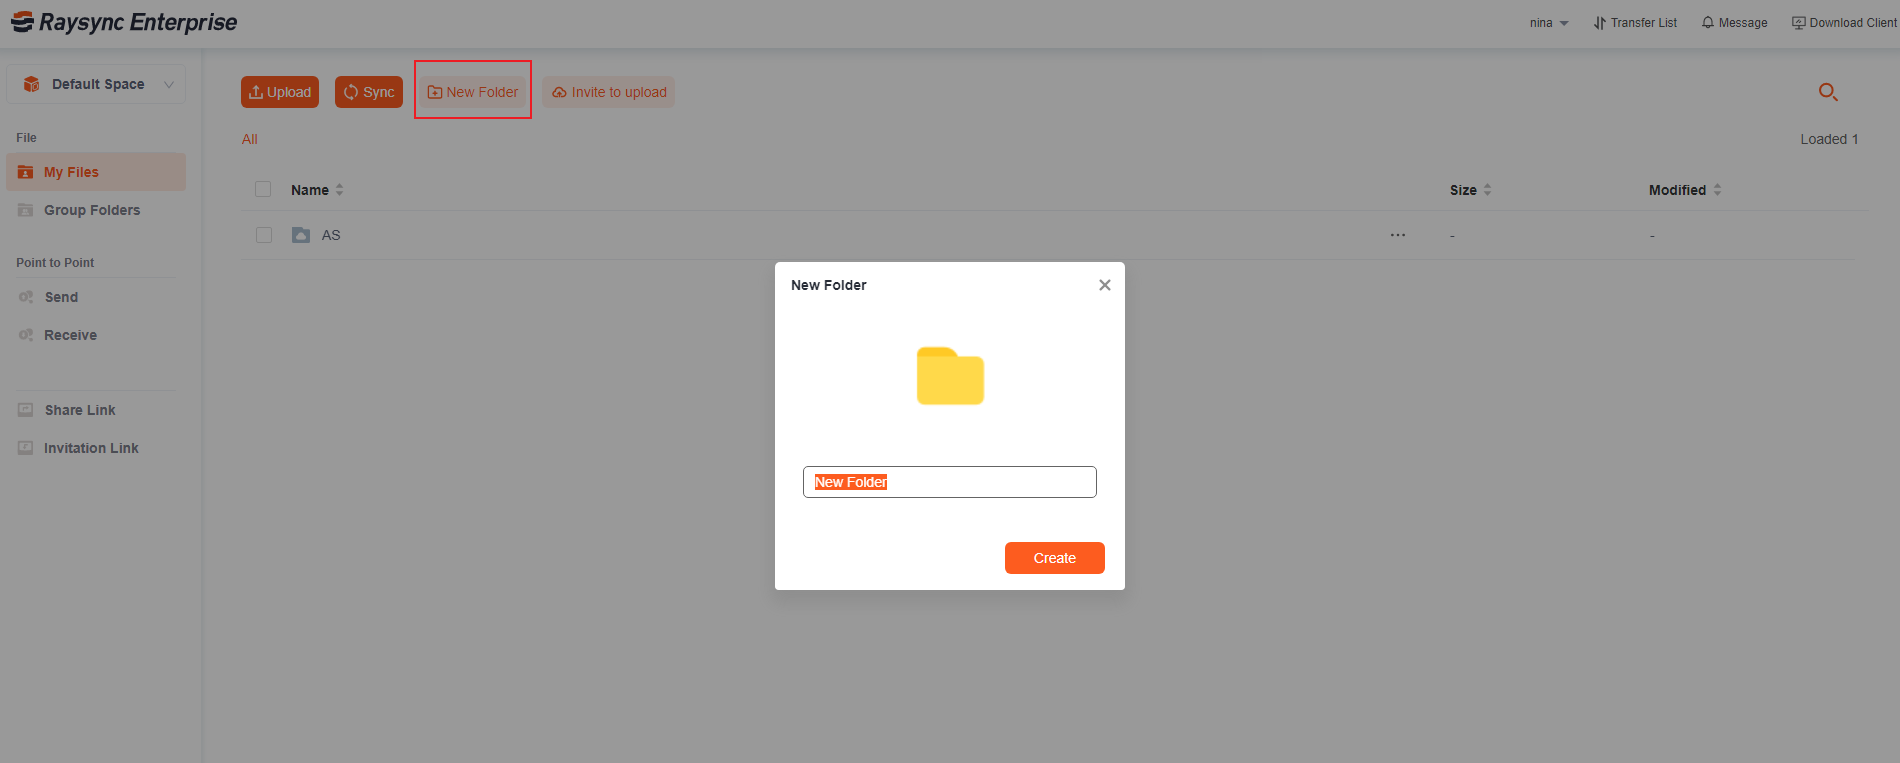
1) Create a new folder
-
Click the New Folder button
-
The default name of the new folder is "New Folder", you can enter a new folder name by yourself
-
After entering the name, click the Create button to complete
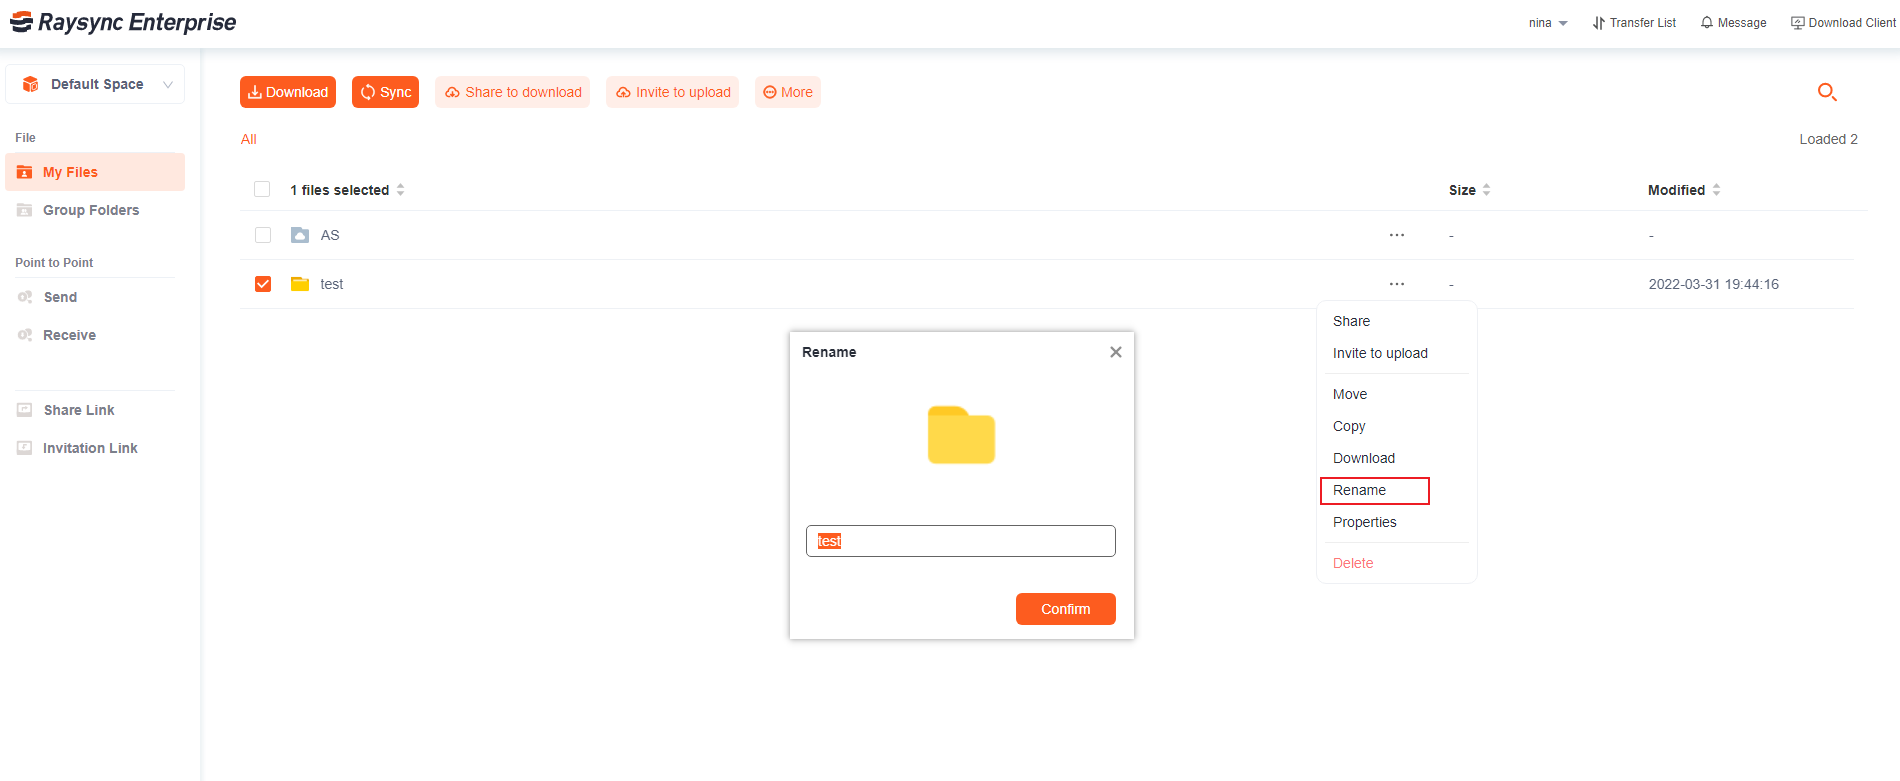
2) Rename
-
Select the file/folder to be renamed, and select Rename in the operation. Note: virtual directory does not support renaming on the client side
-
The file name becomes editable, enter the name that needs to be renamed
- Enter the name and click OK to save
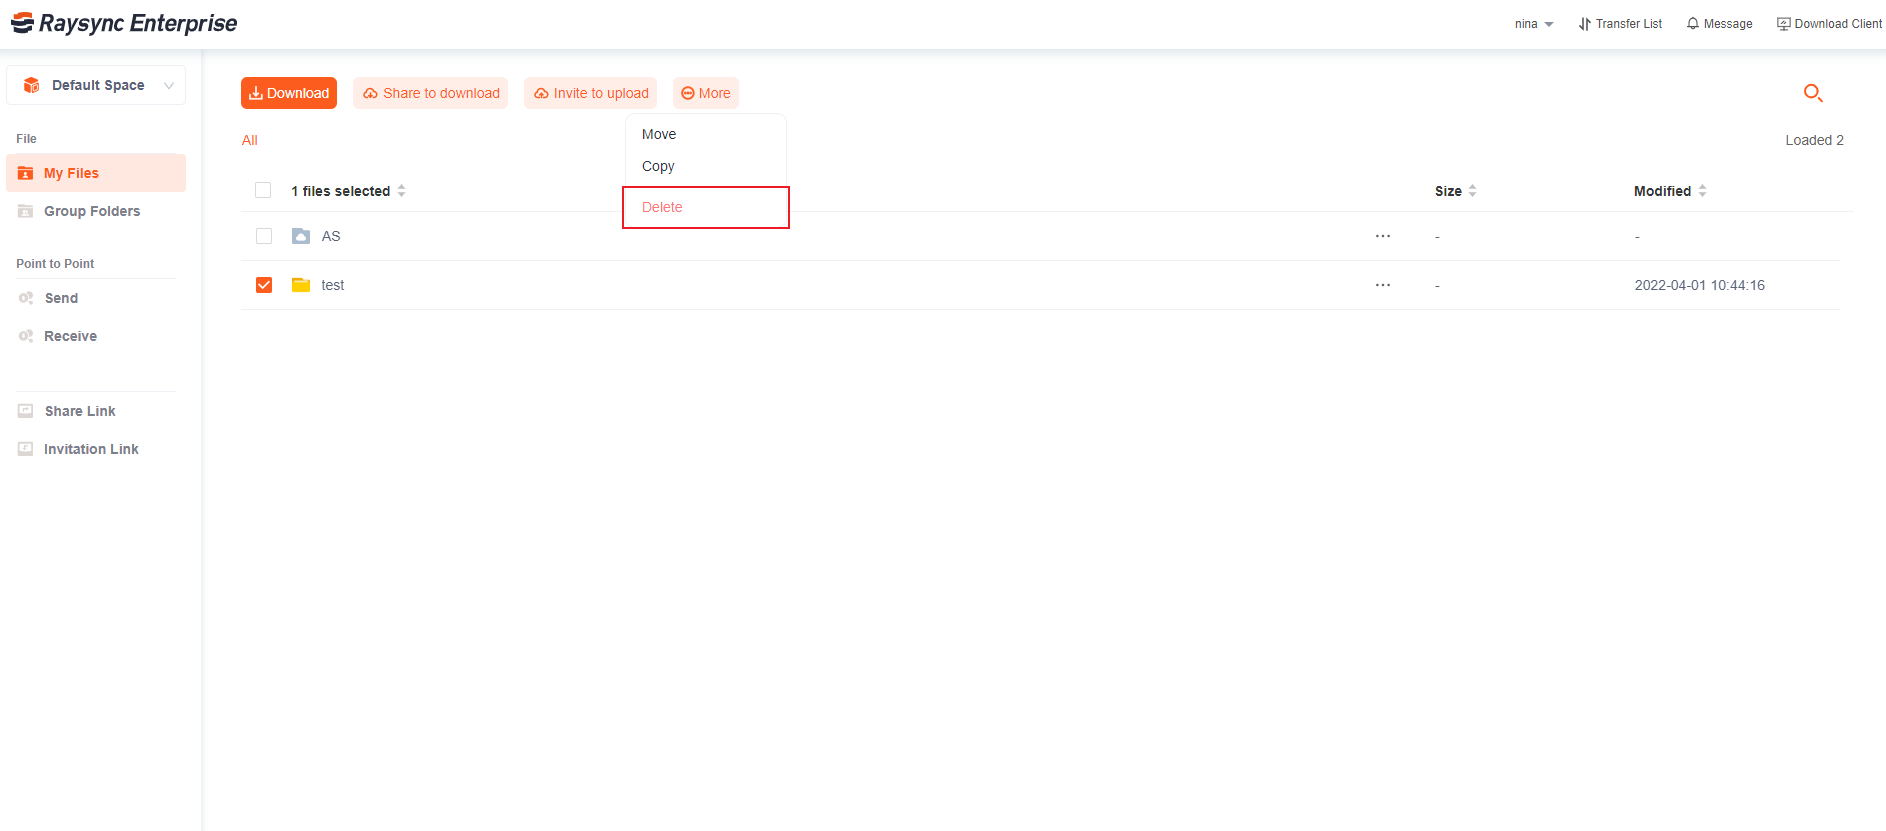
3) Delete files
- Select the file/folder to be deleted, click the delete icon or select Delete in the operation
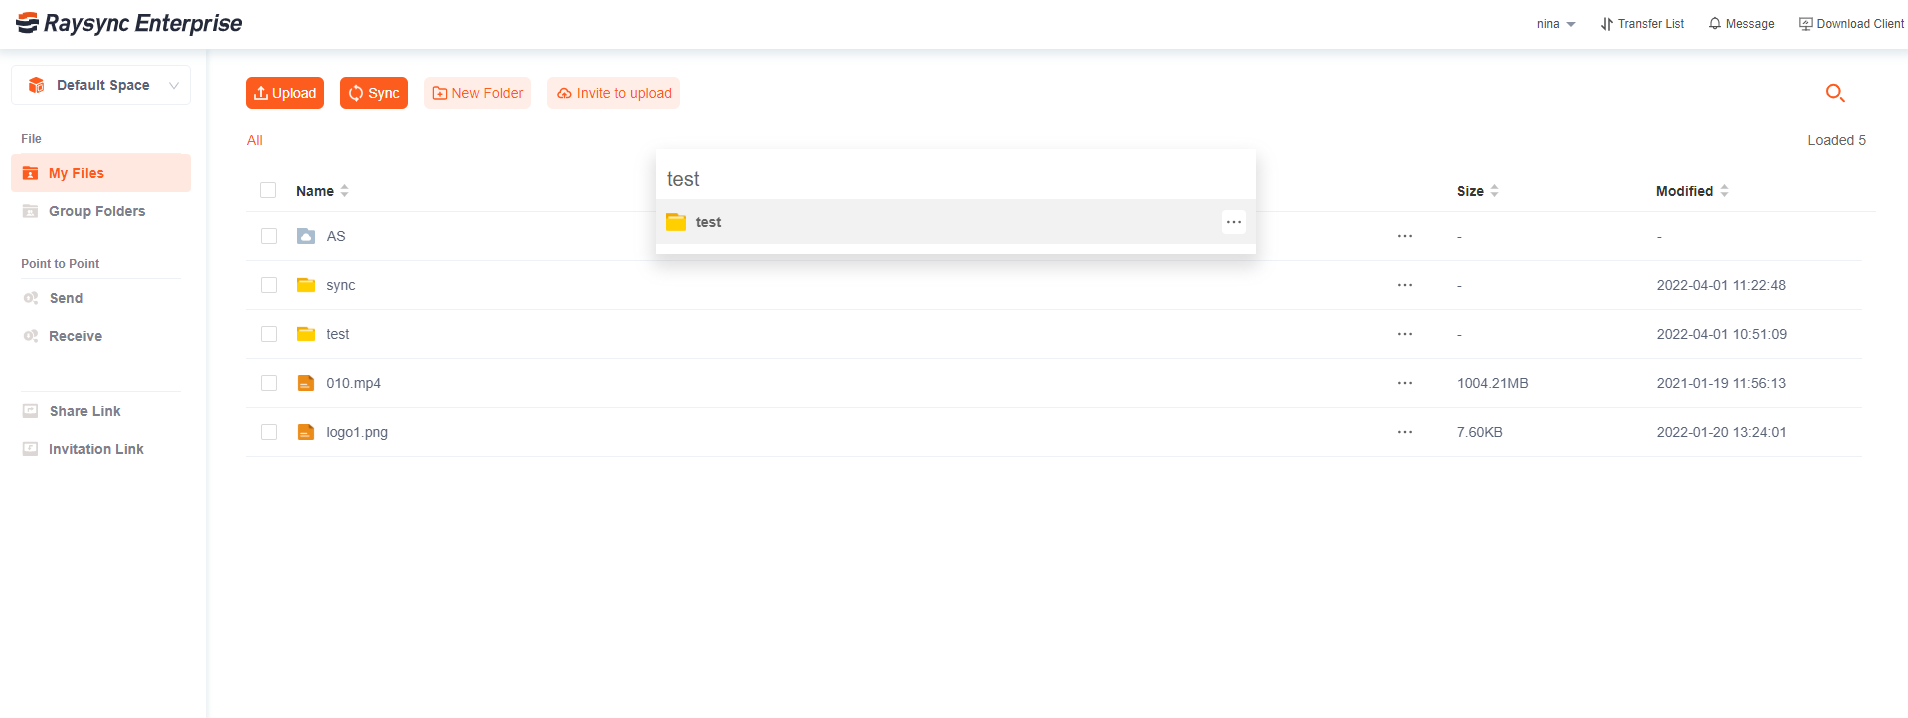
4) Search
- After clicking search, enter the name of the file/folder to be searched in the search box, such as: test
- Click ENTER to search successfully
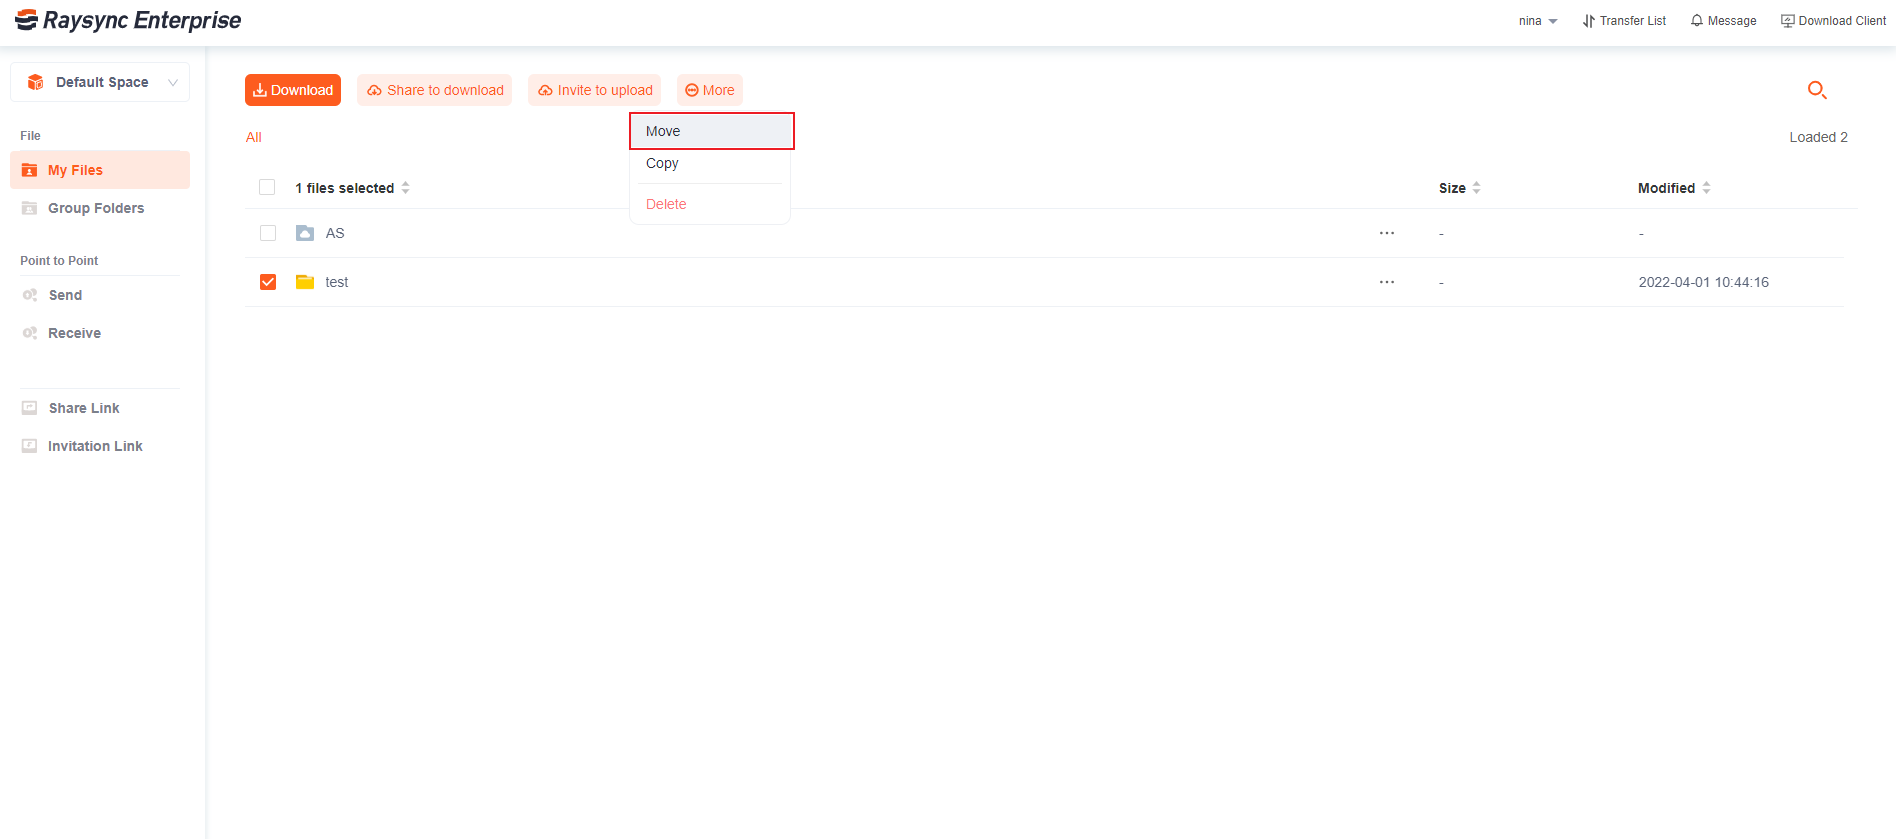
5) Moving files
- Select the file, click the Move button or move within the operation
- Select the directory you want to move to, click to move here
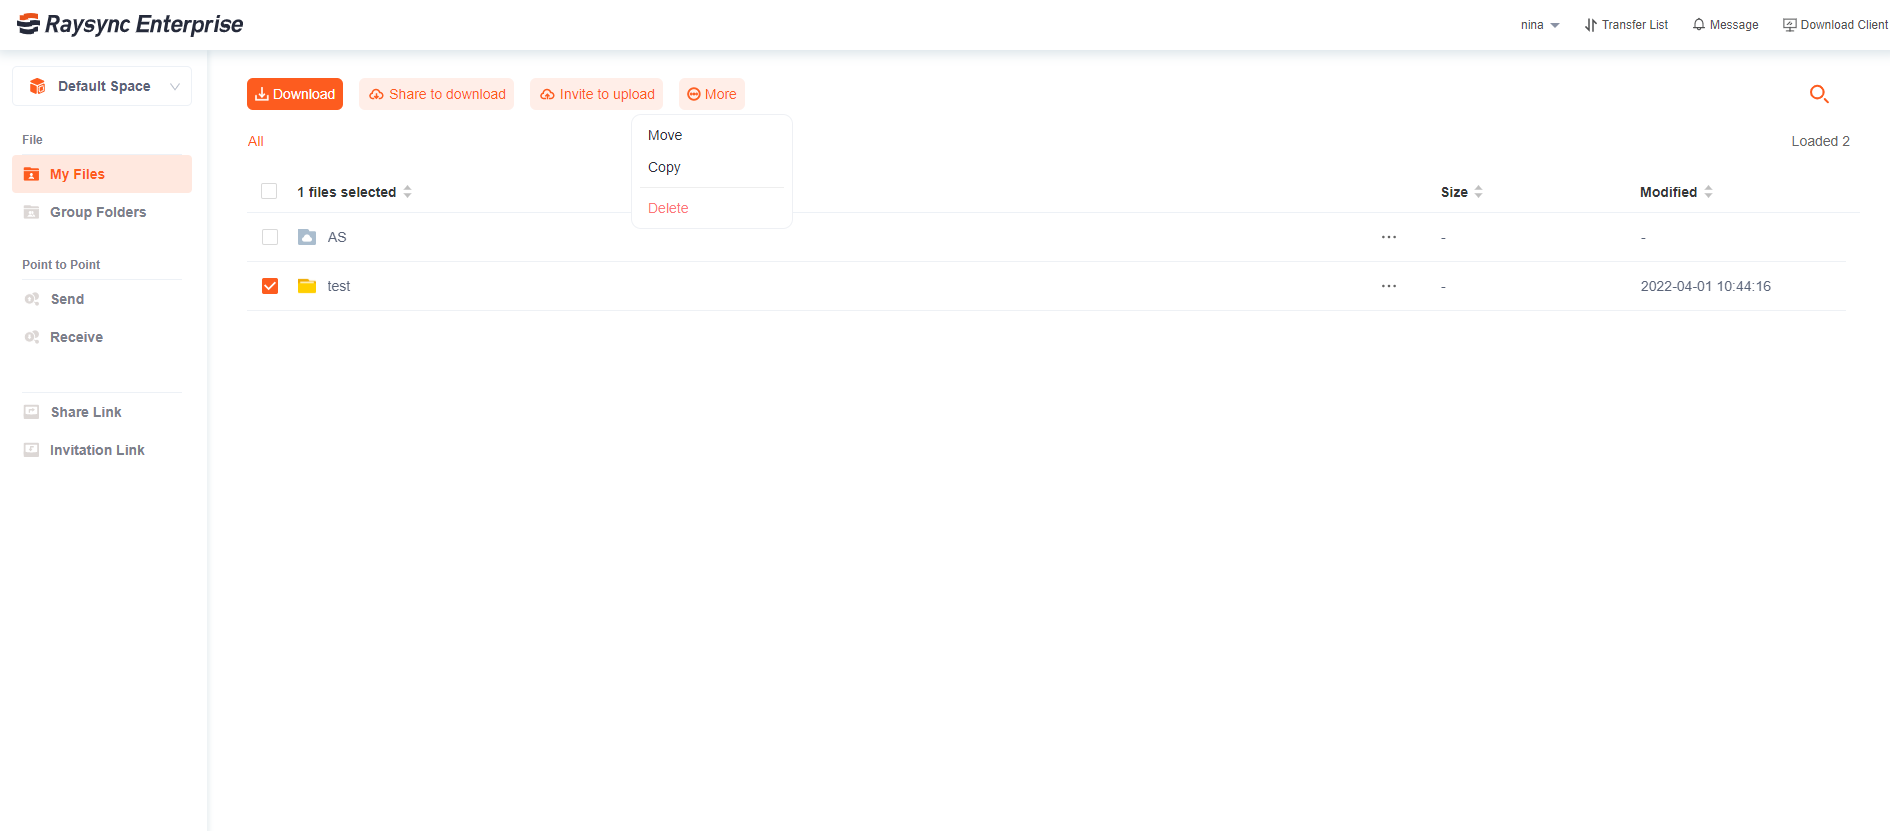
6) Copy files
- Select the file, click the Copy button or copy within the operation
- Select the directory to be copied to, click Copy to this
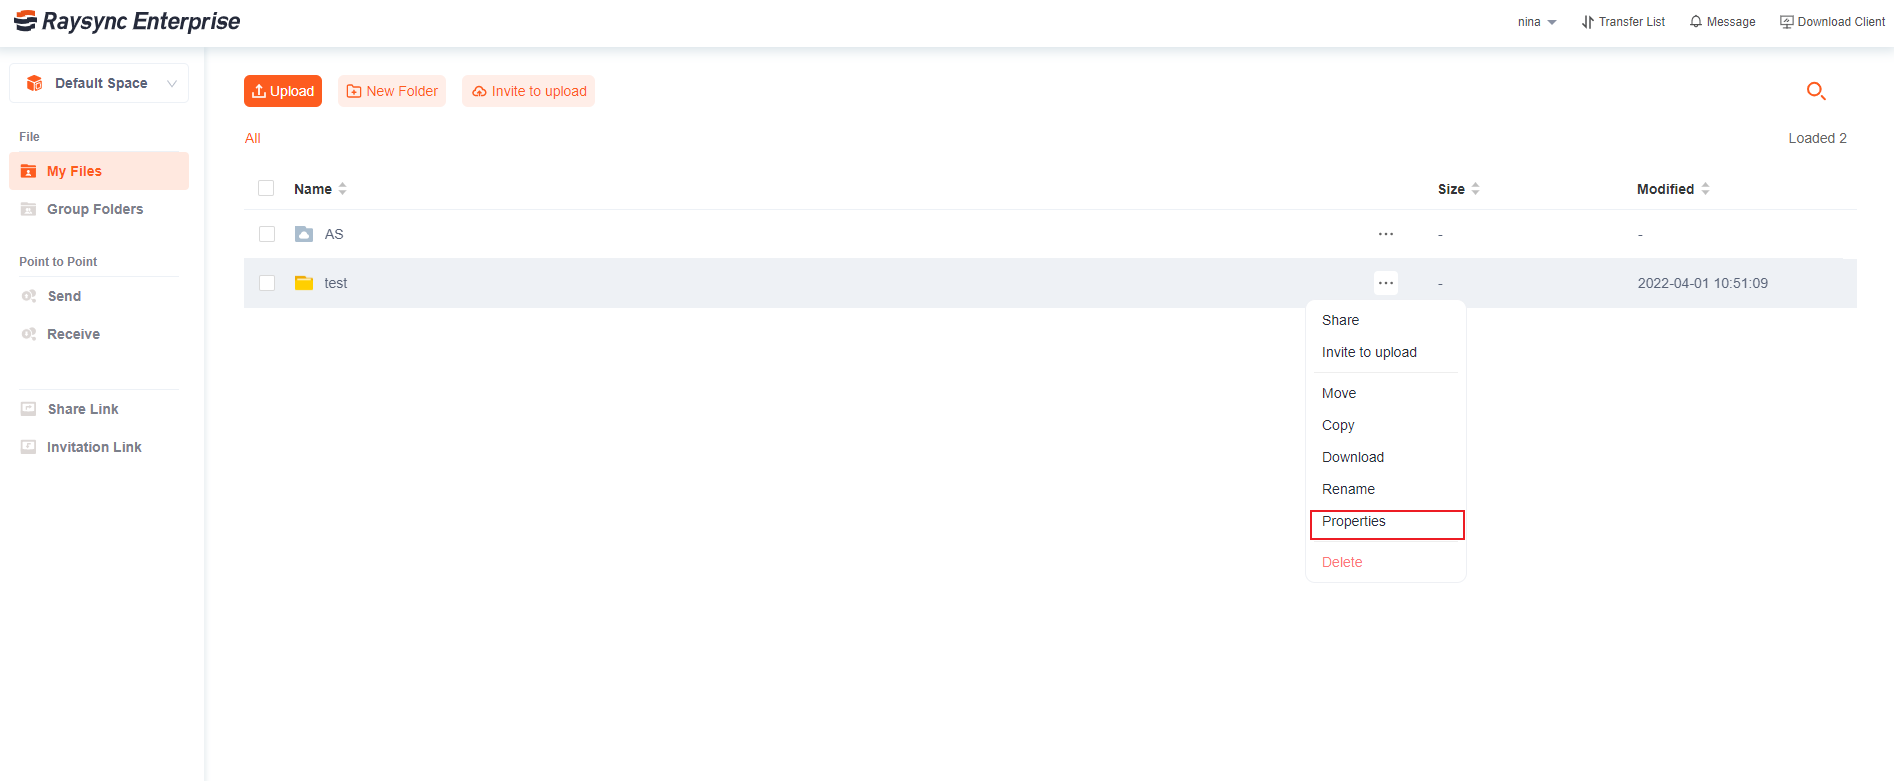
7) Folder Properties
- Select the folder whose properties you want to view, and click Properties of the operation to view the properties of the folder. Note: View properties are not supported for file folders
- Pop-up folder properties popup
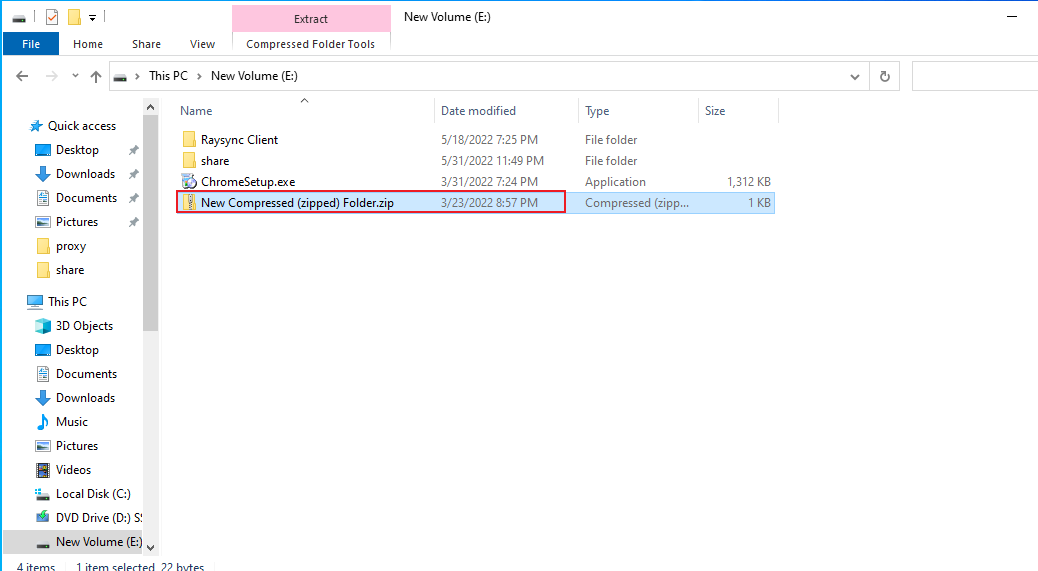
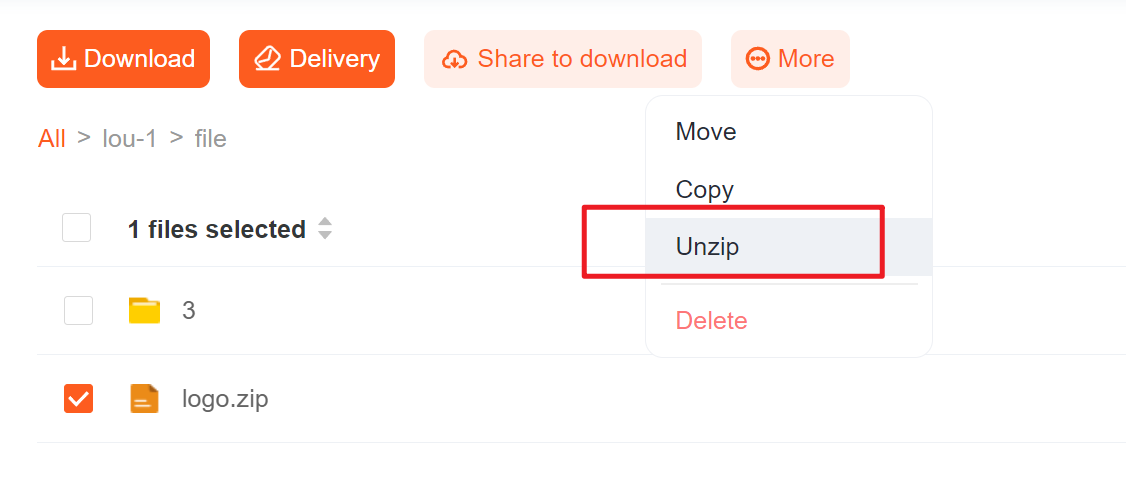
8) Uzip file
Decompress zip, 7zip, and rar files
2.4 Creat sync task
To use this synchronization function, you need the permission to use sync tasks in the user information configuration managed by the administrator in the server background.
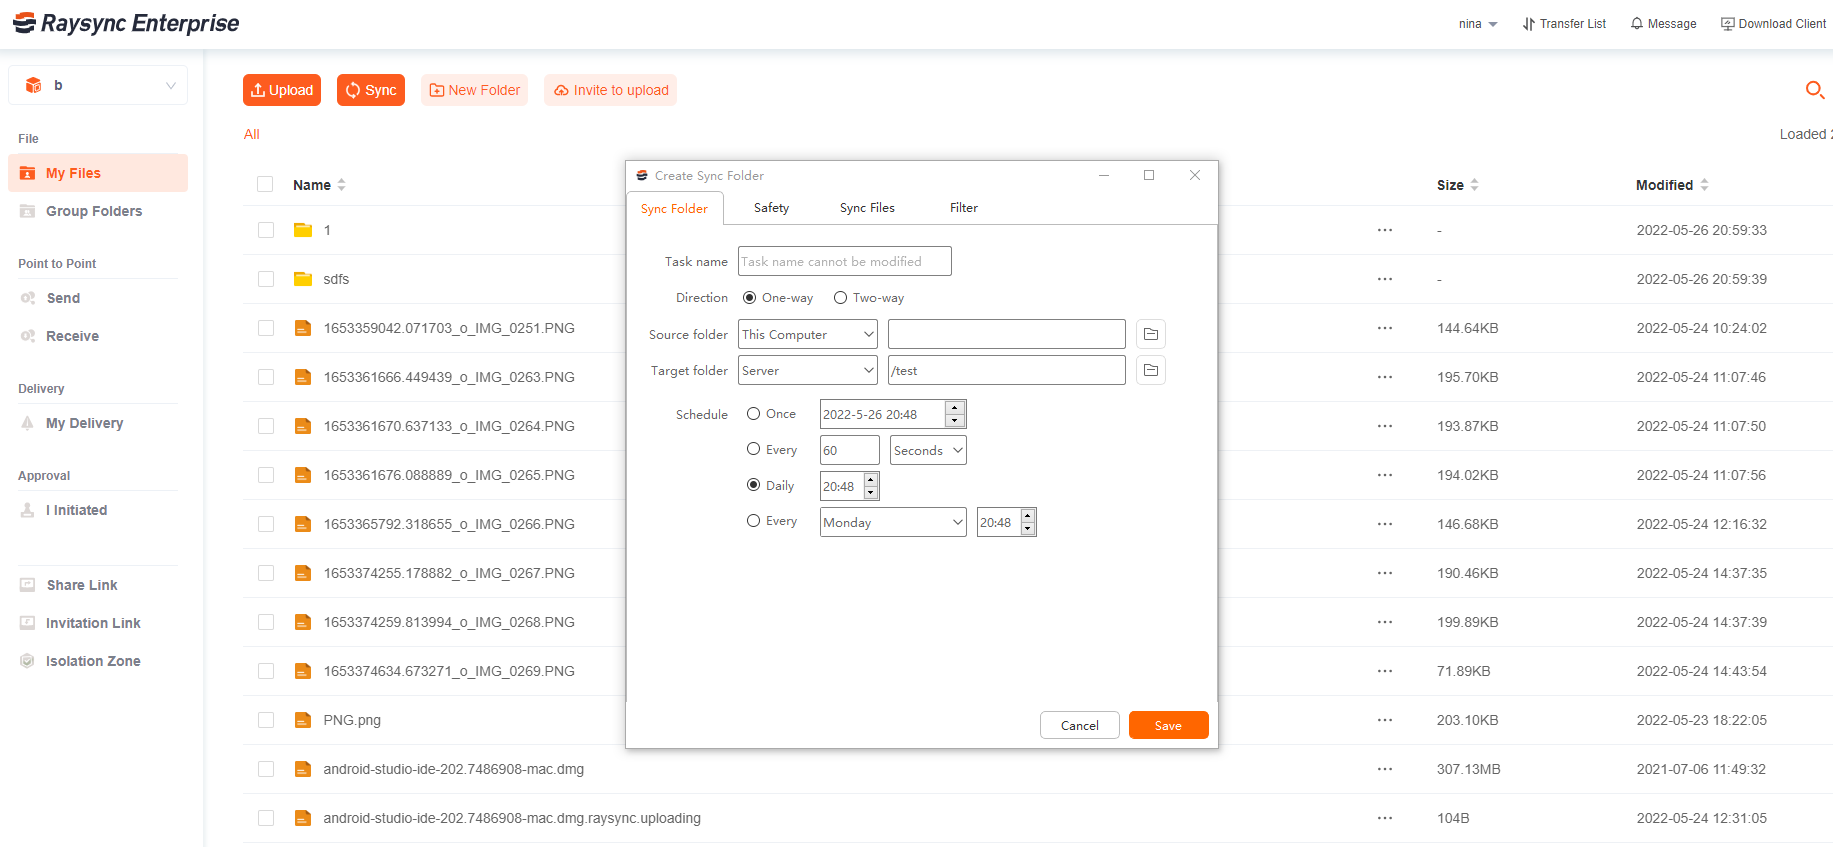
- Click the Create Sync Directory Task button
- Pop up a new synchronization directory pop-up box
-
Setup Instructions: Sync Directory
-
Enter the task name of the sync task, the source path, the target path, the sync frequency
| Function | Description |
| Task name | The name of a synchronization task is displayed in the task list after it is successfully created. |
| Direction |
When the source path is the server,the folder is synchronized from the server to the local.When the source path is the computer ,the folder is synchronized from the local to the server. 2) Two-way Raysync service will conduct two-way synchronization between radium speed server and local directories. After the two-way sync is enabled, Raysync will first upload the locaI directory files to the server directory, and then download the files of the server directory to the local directory, so as to maintain the consistency between the server directory and the local client directory files. |
| Source path |
Select the source folder path to be synchronized,support two-way. When the source path is the computer, it is a synchronous upload. When the source path is the server, it is a synchronous download. When two-way synch is used, the source and target paths are not distinguished. When selecting folder, you can select multiple paths of the same level to transfer. |
| Target path |
Select the target path for synchronization to the server or local. |
| Sync schedule |
Select the start time of the synchronization task,support two synchronization frequency settings. 1) Synchronize once a day at a fixed time. For example, select "Daily 18:22", the synchronization task will start synchronization at 18:22 every day. 2)Synchronize every time period. For example, select Every 60 seconds,the synchronization task will start synchronization every 60 seconds. 3)Synchronize once only. For example,select"Once 12:00",the synchronization task will start synchronization once at 12:00. 4)Synchronize by week If one or more dates are specified in a week,the synchronization will be performed at a certain time of the specified week. For example,if you set 20:14 synchronization on Monday and Wednesday every week,you can synchronize at 20:14 on Monday and Wednesday. |
security
- Turn on encrypted transfer

- Selection of file processing method: retain file modification time; transfer only files and folders in the source directory; when the source file is deleted, the target file is automatically deleted; after each file sync is completed, the source file is automatically deleted; two-way sync
File Filter
| Function | Description |
| Filtering-transfer files and folder |
Supports setting files that are allowed to be transferred or filtered. Files and folder that meet the conditions will be filtered or transferred. Supports the use of wildcards. For example, if you need to filter all files starting with "test" during transfer, you can enable the blacklist and enter test*. |
| Filtering-filter files of a specified size filter | Files file whose size exceeds the set size when transferring |
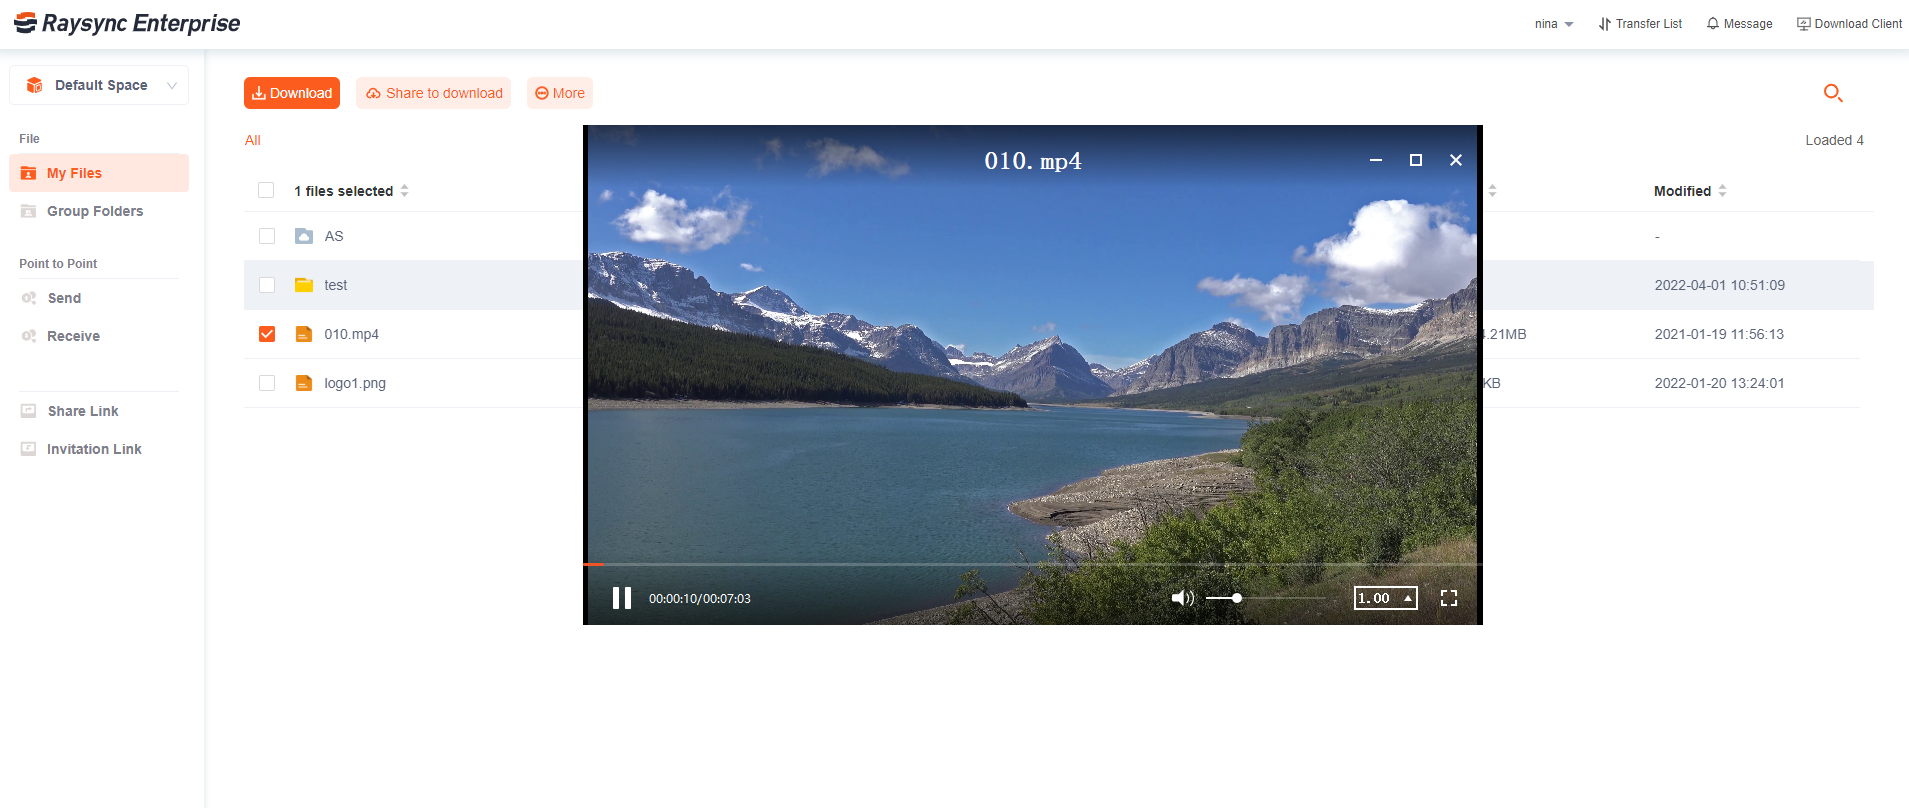
2.5 File preview
Select the file you want to preview, click the location of the file name, you can preview it online.
Preview Type:
-
- Image: png, jpg, gif, jpeg, bmp, ico, svg
- Office: doc, docx, ppt, pptx, xls, xlsx, csv (Office service needs to be installed separately)
- Video: mp4, avi, mov, mxf, mpg (On the web page, video preview requires Raysync Client plugin.)
2.6 Isolation zone
2.6.1 Virus blocker
- If the file you upload through the website contains a virus.
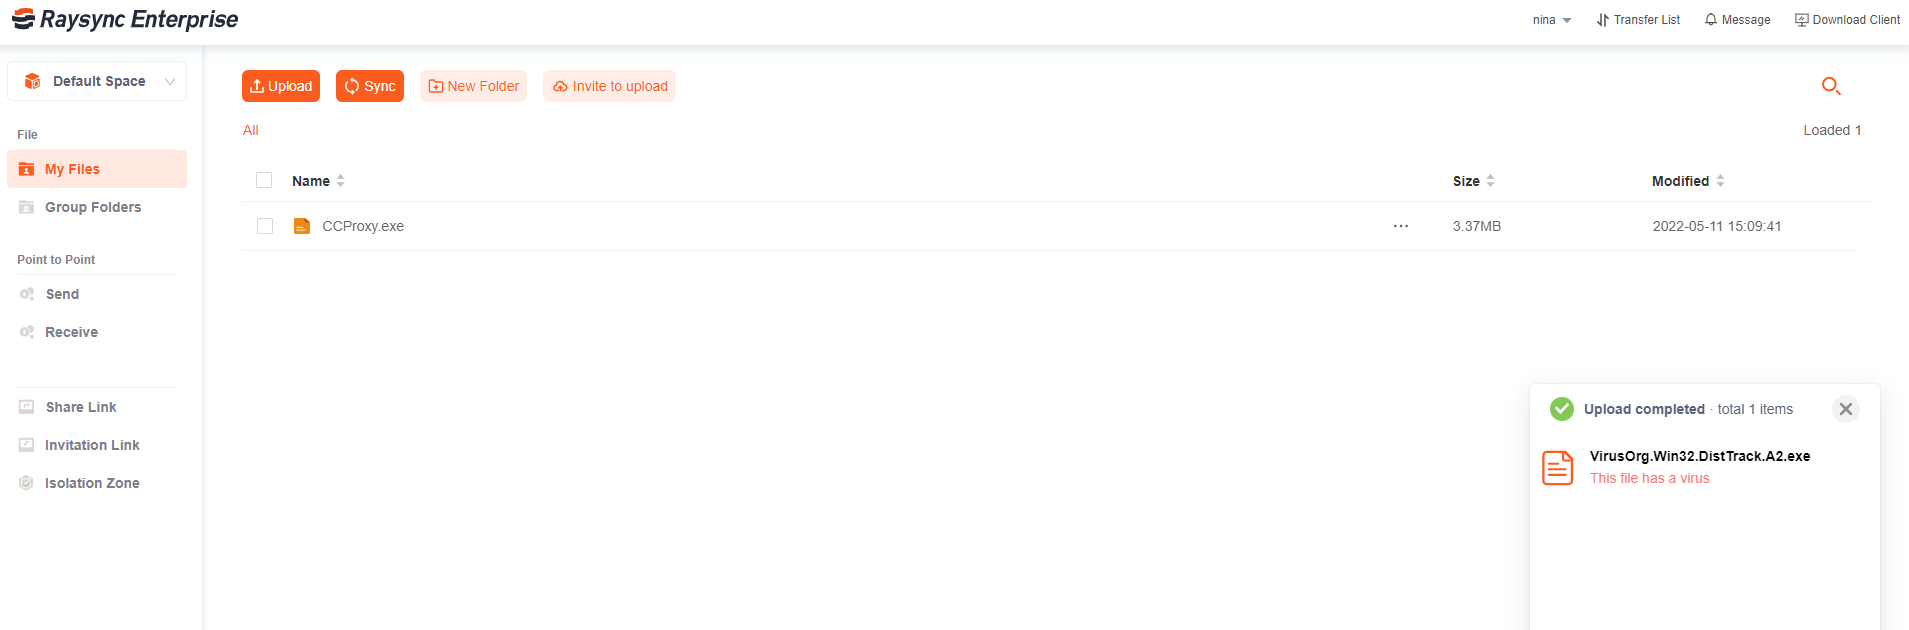
- If the file you upload through the client contains a virus.
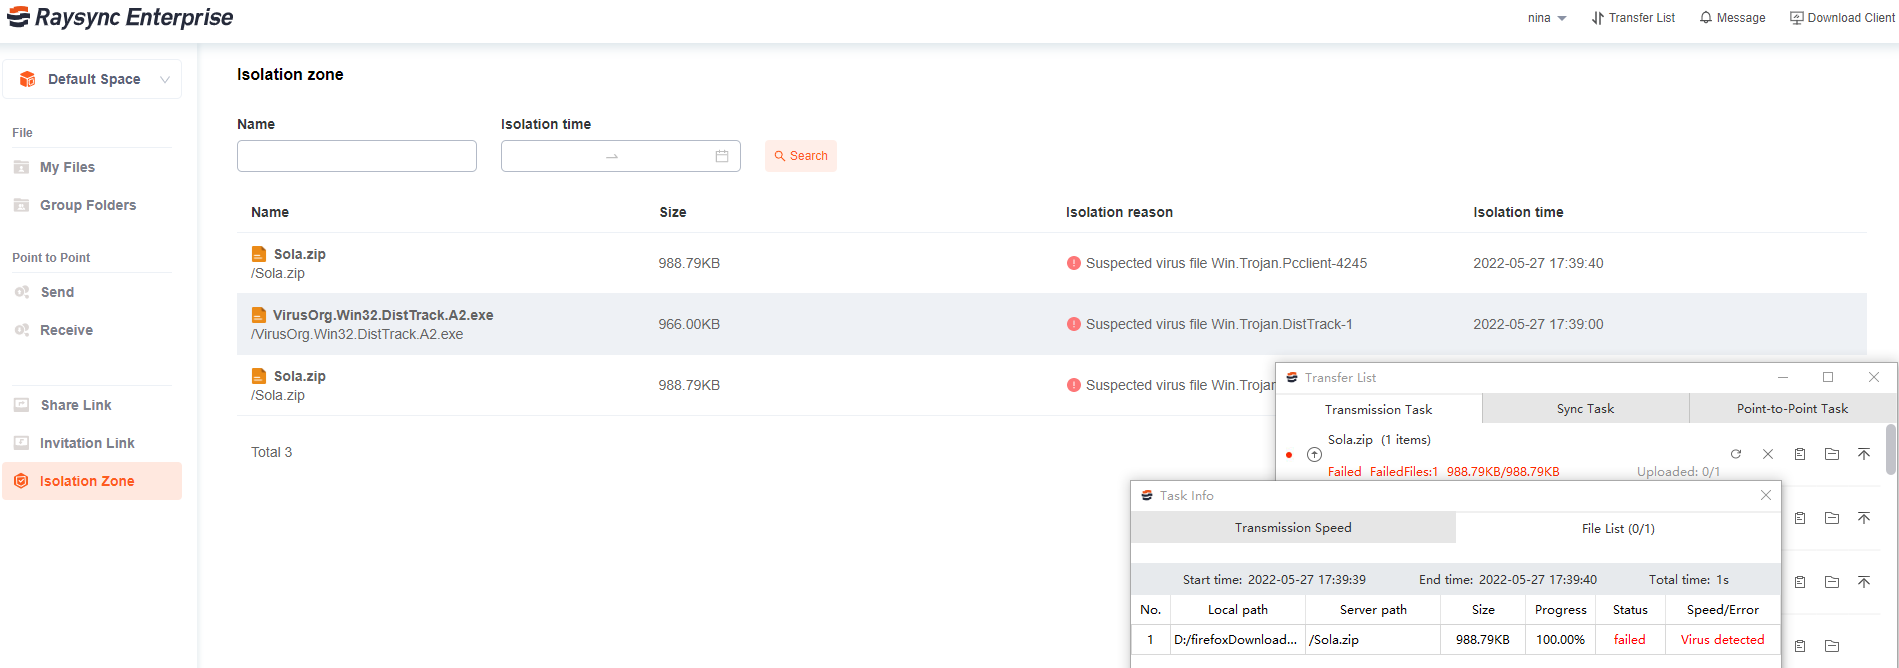
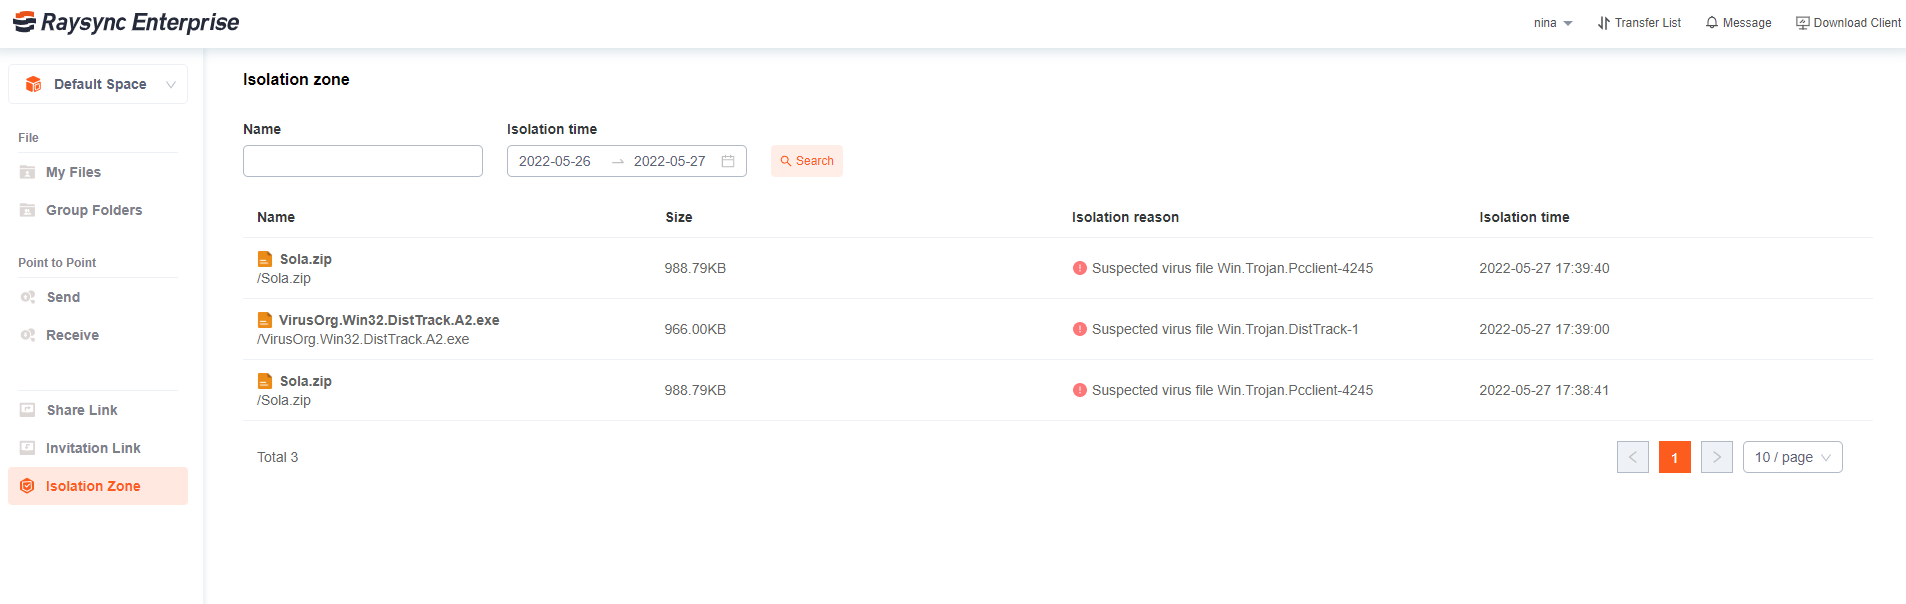
2.6.2 Virus view
- You can view the virus type and other information of the isolated file through the file name.

- You can view the virus type and other information of the isolated file through the isolation time.
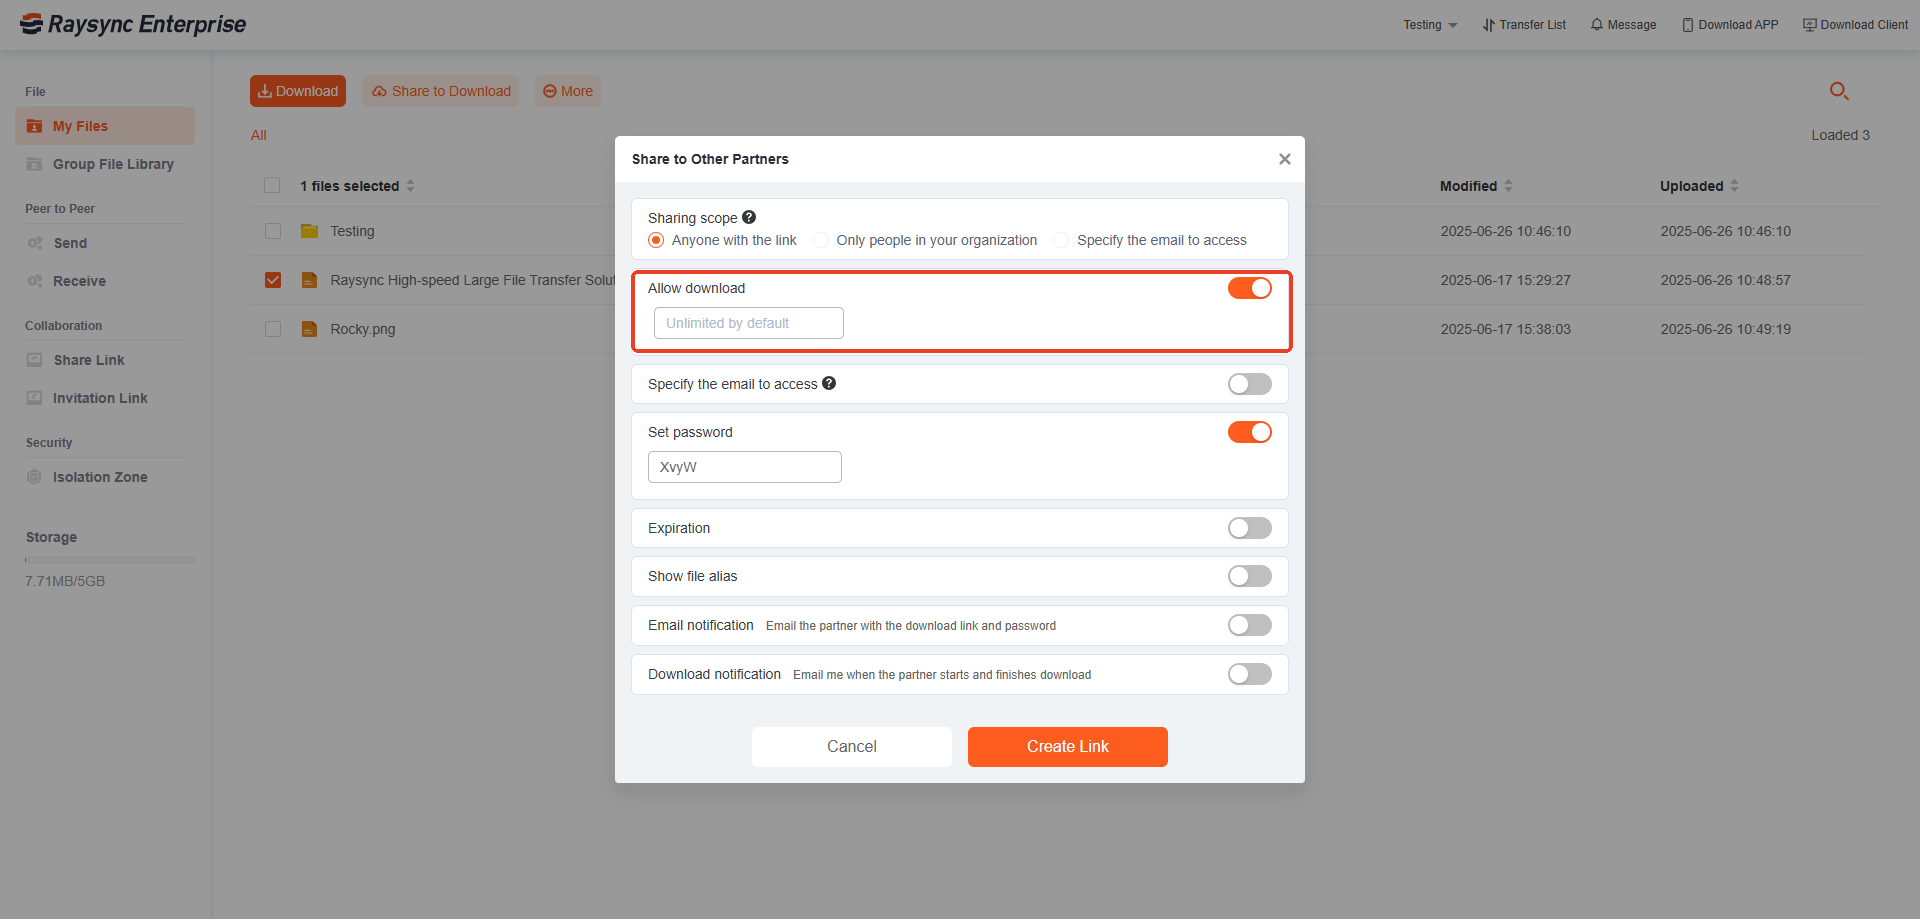
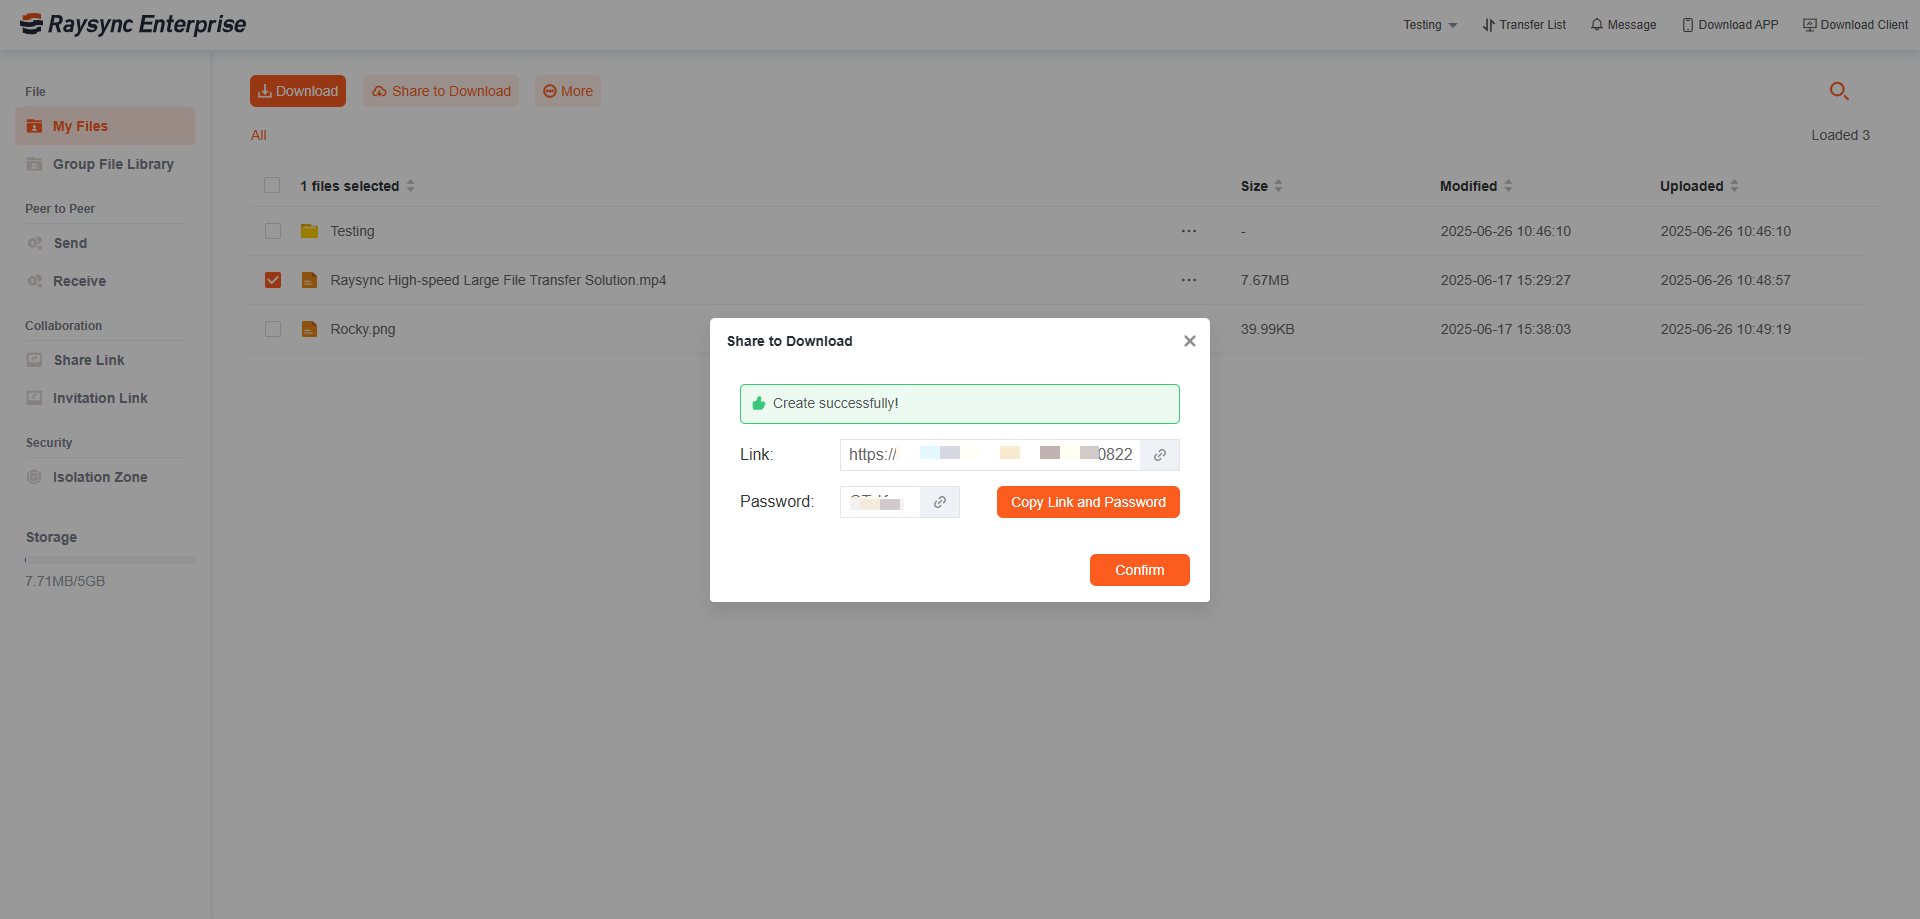
2.7 Support share file preview only
When using the client, this feature allows users to share files with others for preview only. Users can choose whether to permit downloading the shared content.
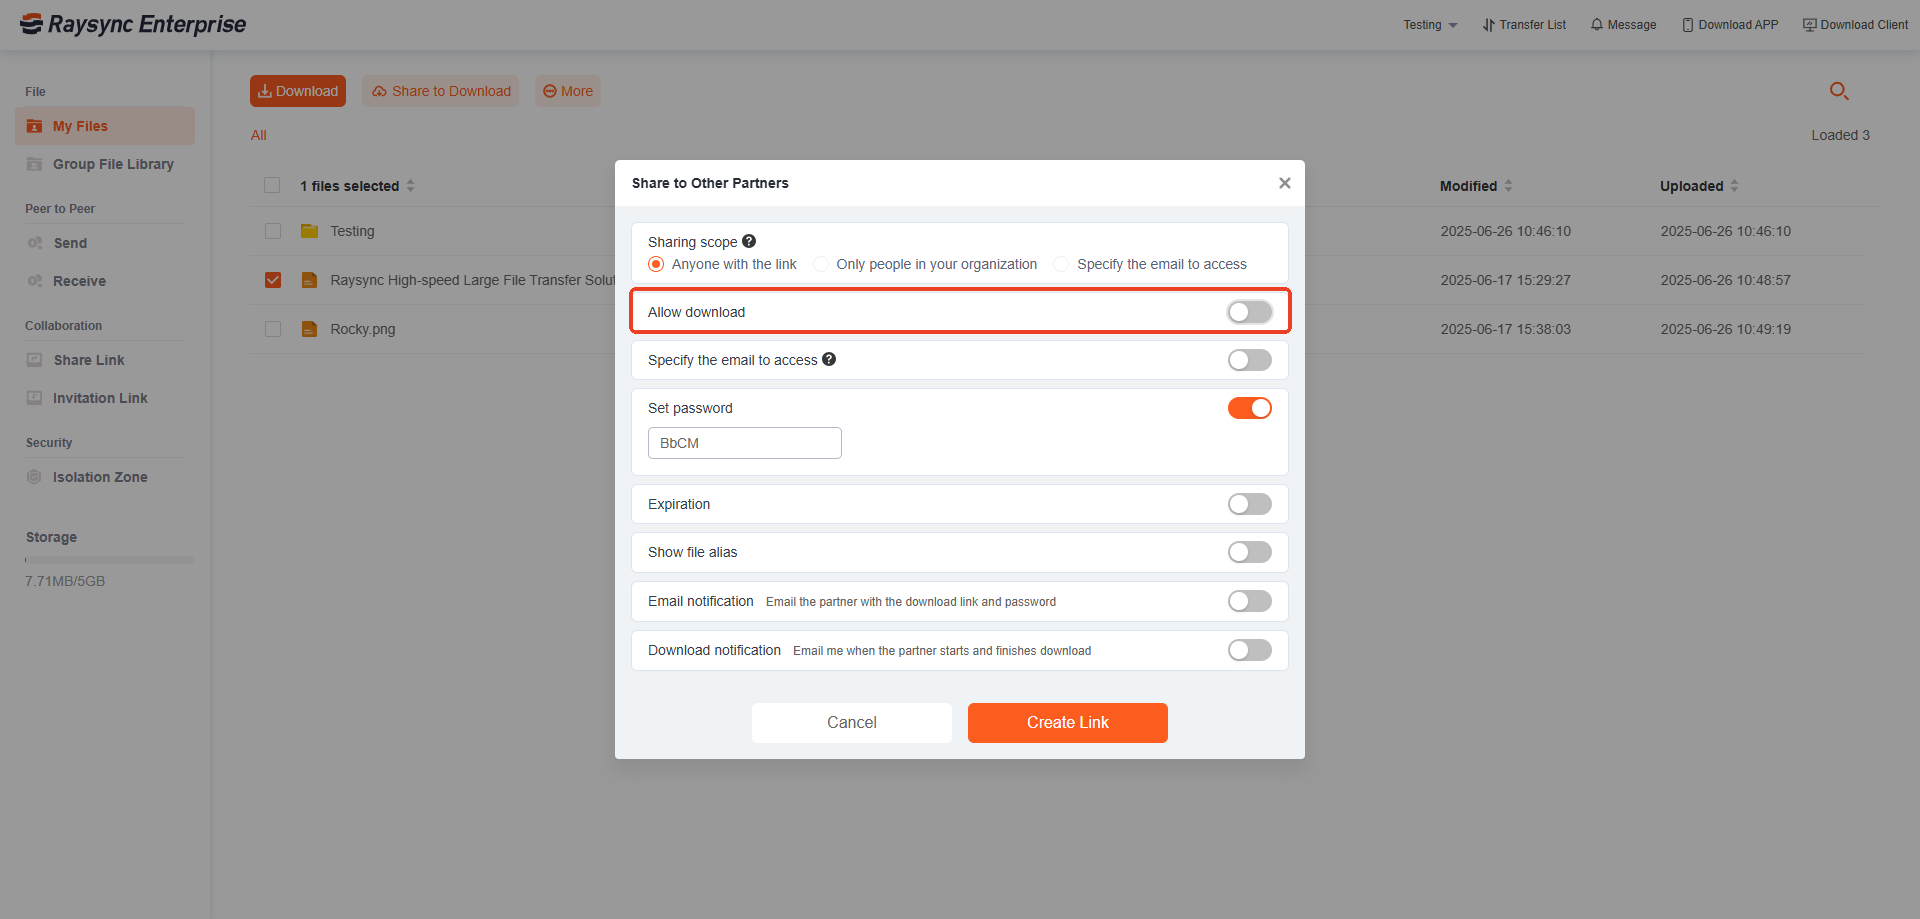
When you're creating the Sharing Link:
Adjust the logic of the [Allow Downloaded] feature:
When the option is enabled:
Web end---User can download files and can preview them online.
Client end---User can download files and can preview them online.
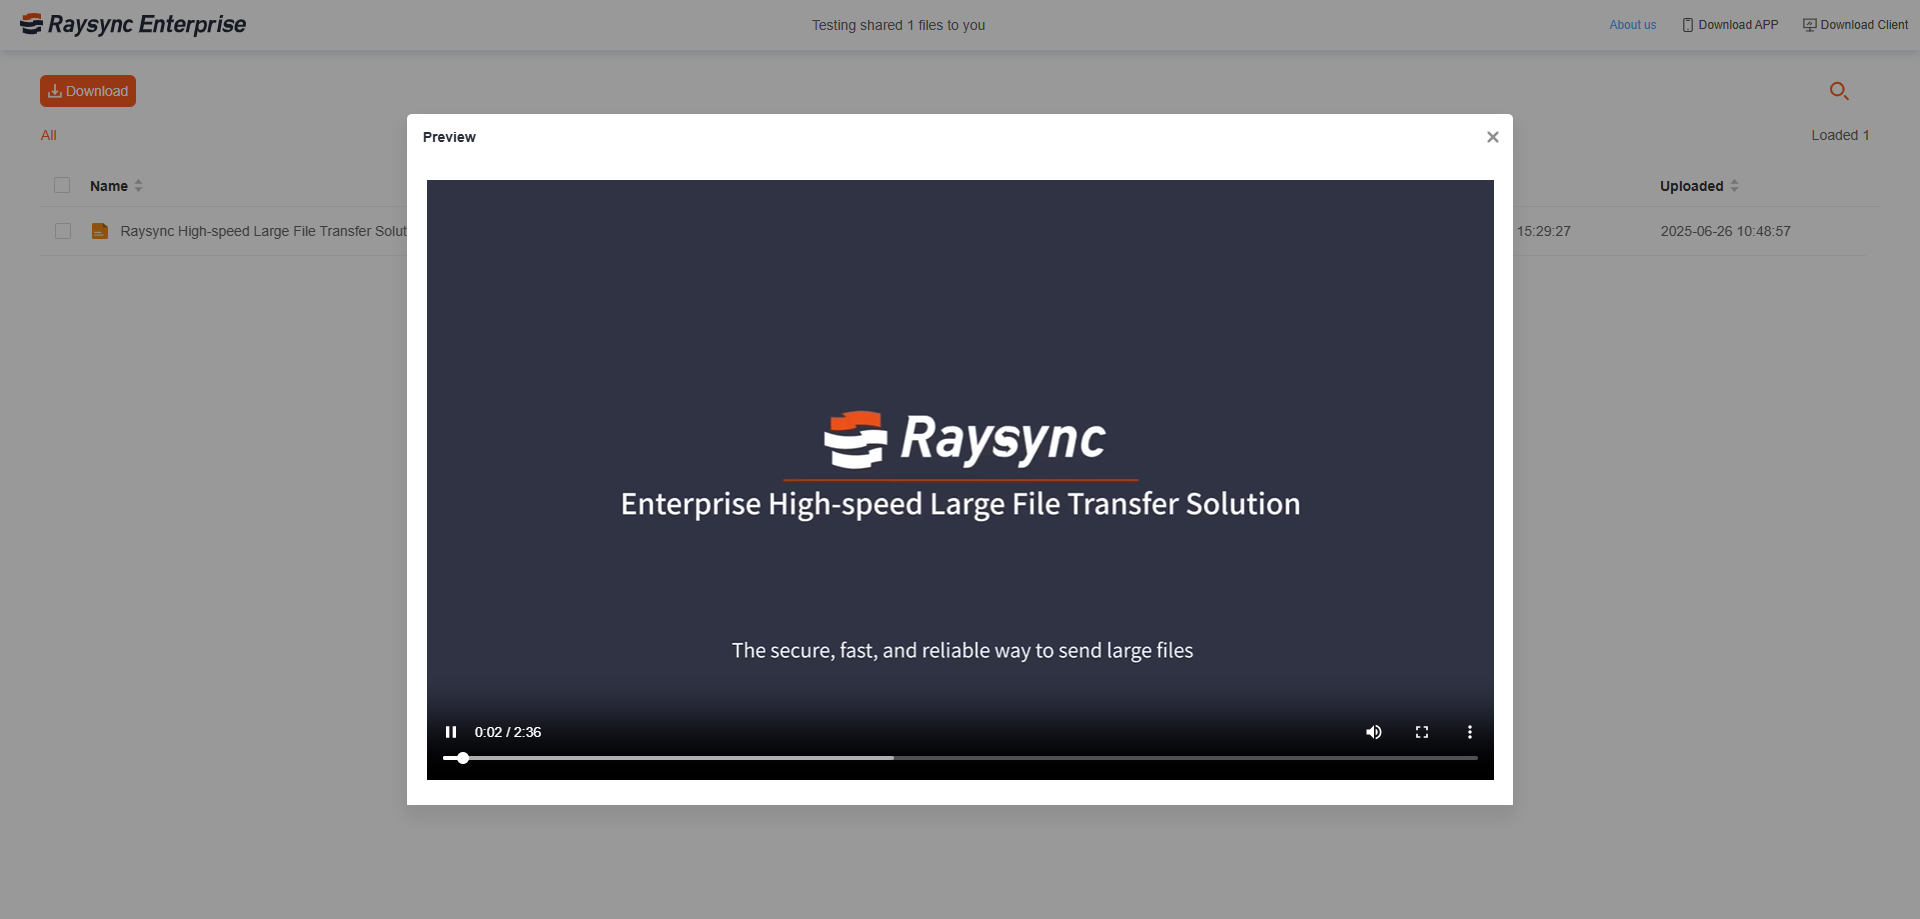
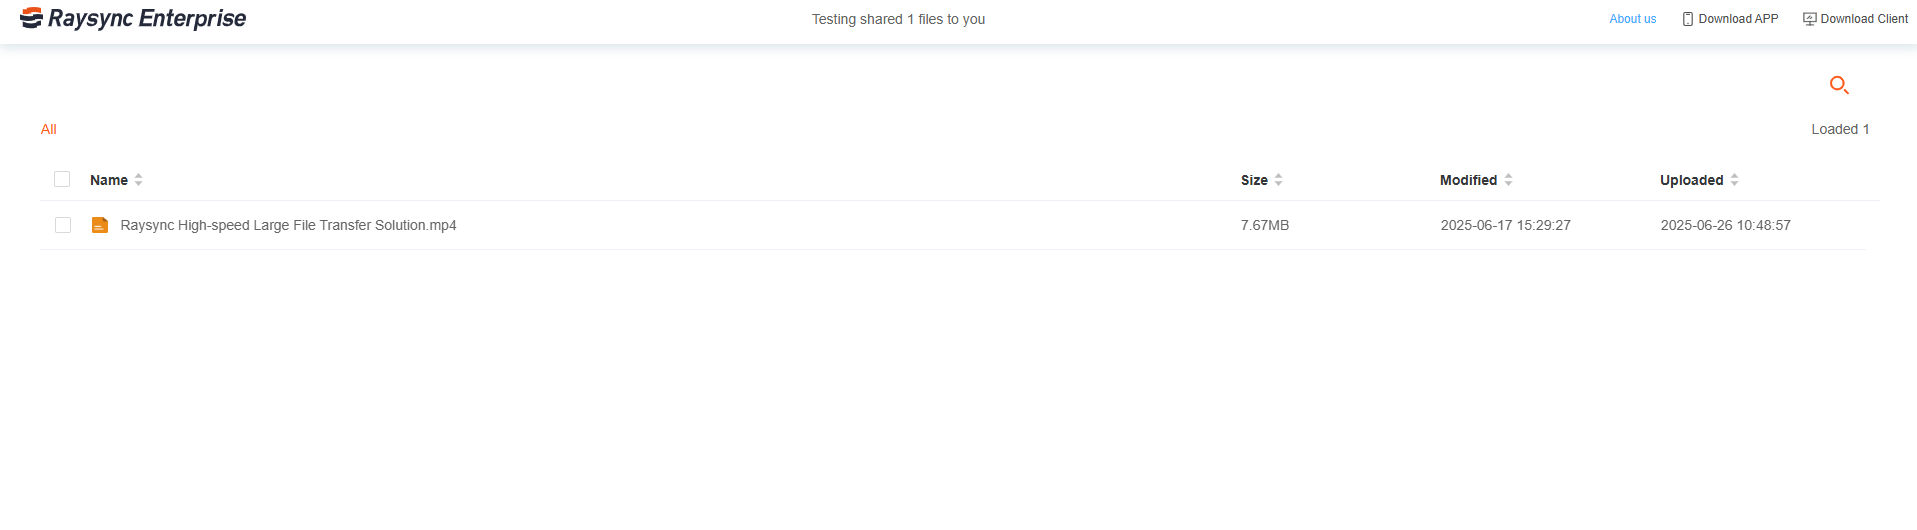
When the option is disabled:
Web end---User can only view the list of shared files, and cannot download or preview them online.
Client end---User can only view the list of shared files, and cannot download but can preview them online.
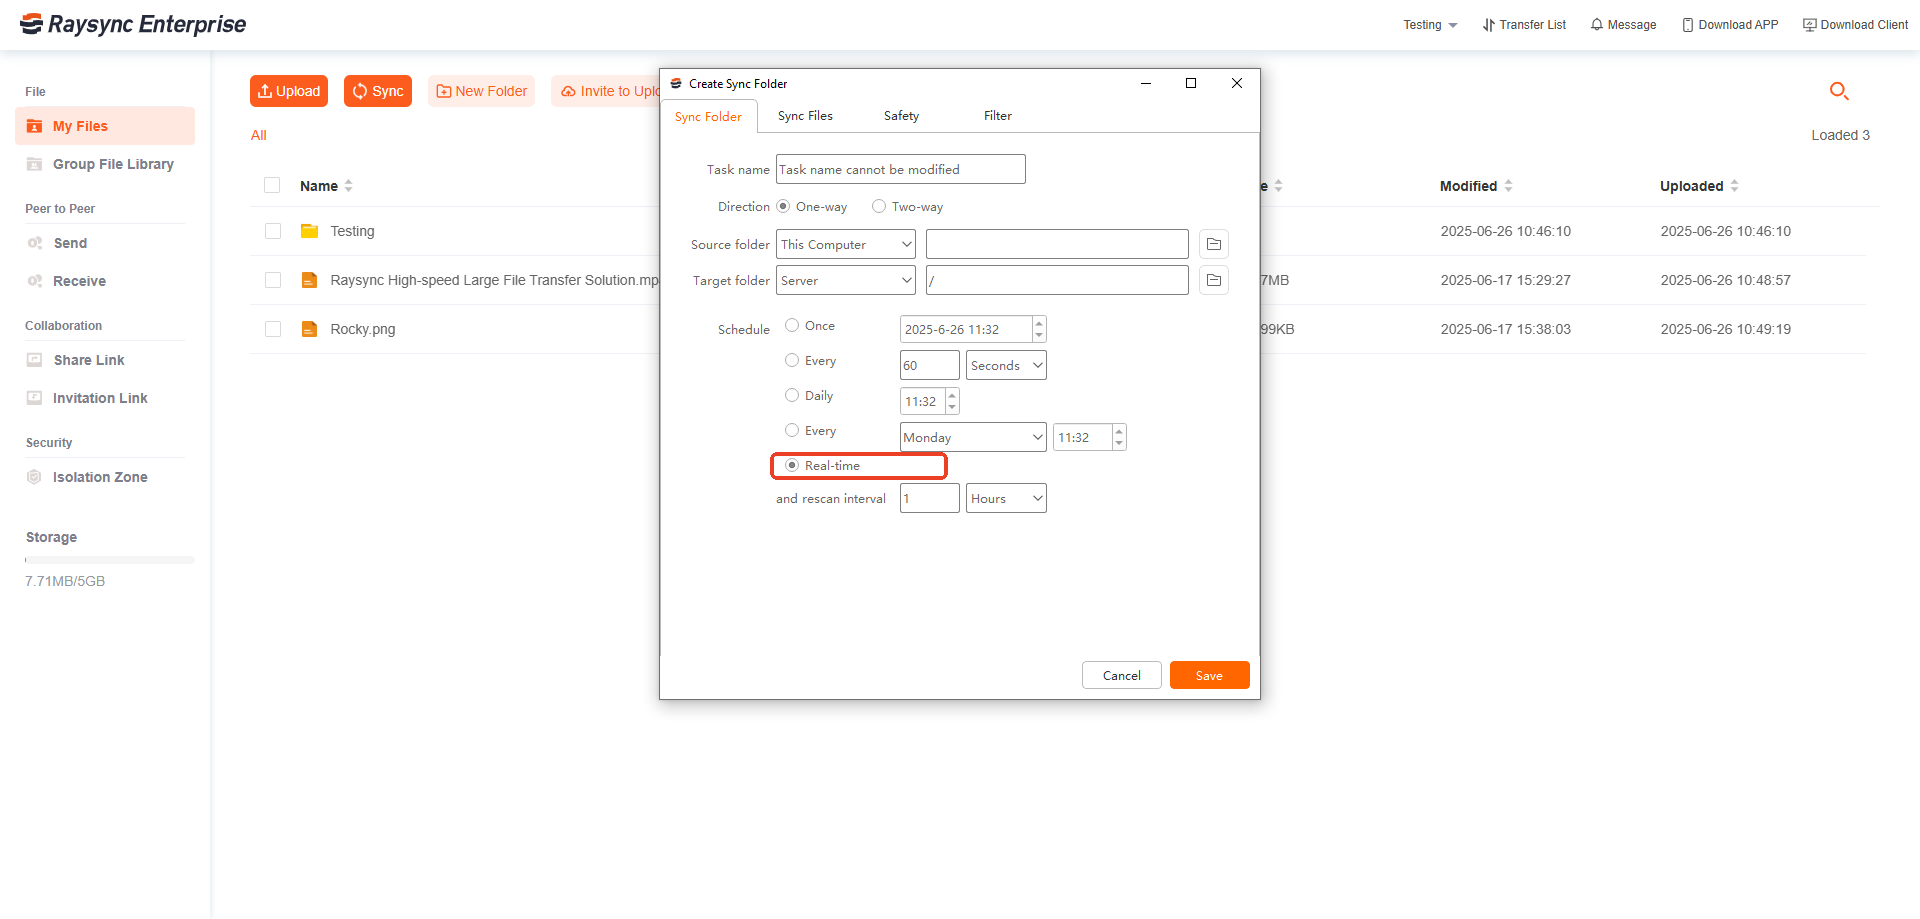
2.8 The synchronization feature supports real-time updates
When modifying the corresponding files, the modified files can be synchronized in real time.
Note: Currently, only real-time synchronization and upload are supported, and only local storage is supported.
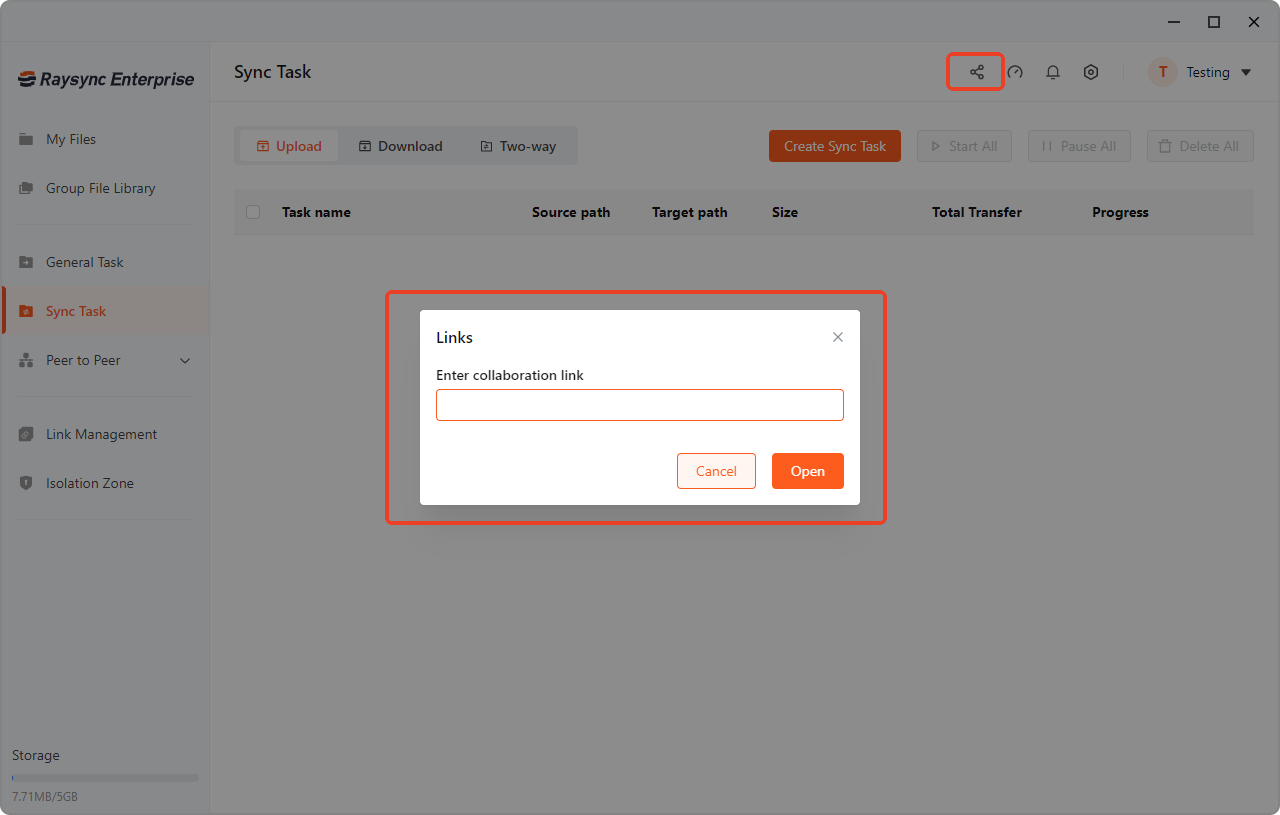
2.9 File Upload and Download through Raysync Links Supported
Shared links support upload and download via the desktop client. After copying the link, open the desktop client to automatically detect it. You can then manually initiate the upload or download.
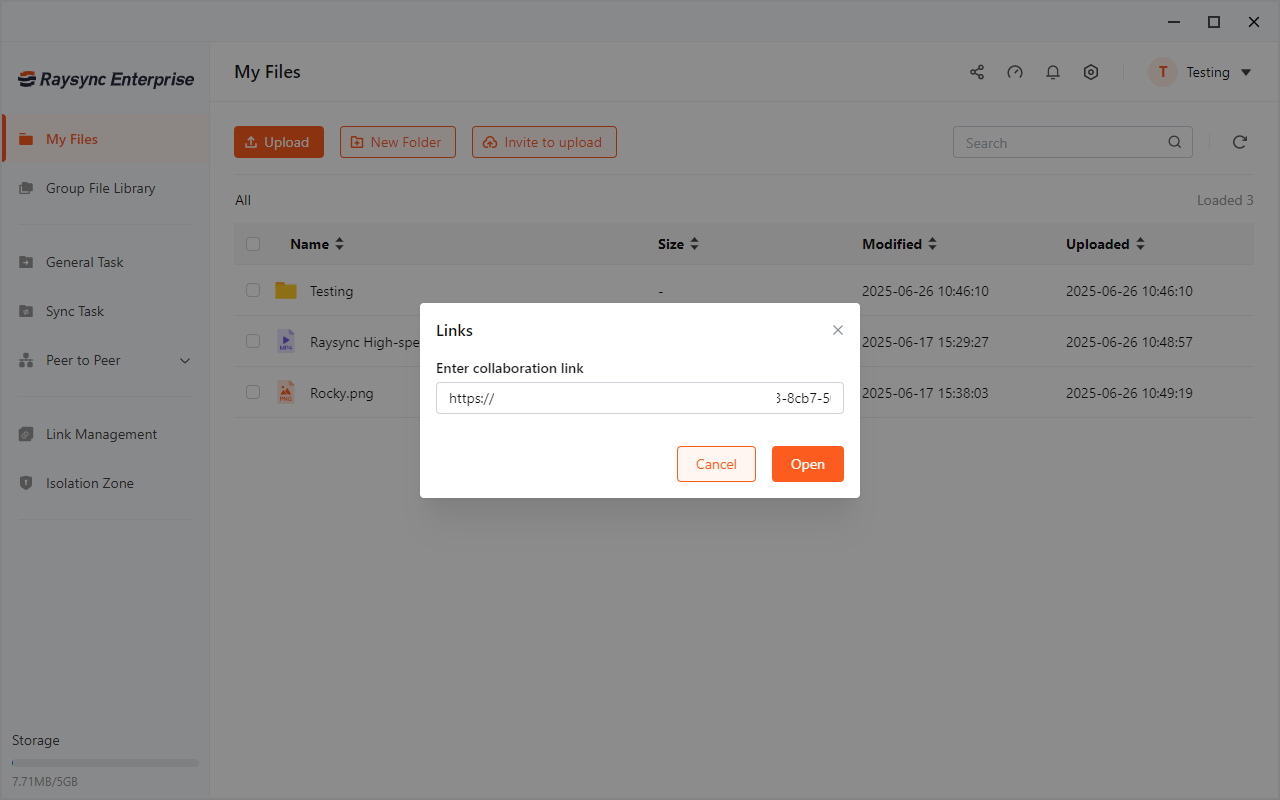
If Raysync fails to detect the link in your clipboard, you can manually enter it here.