1. Log Presentation
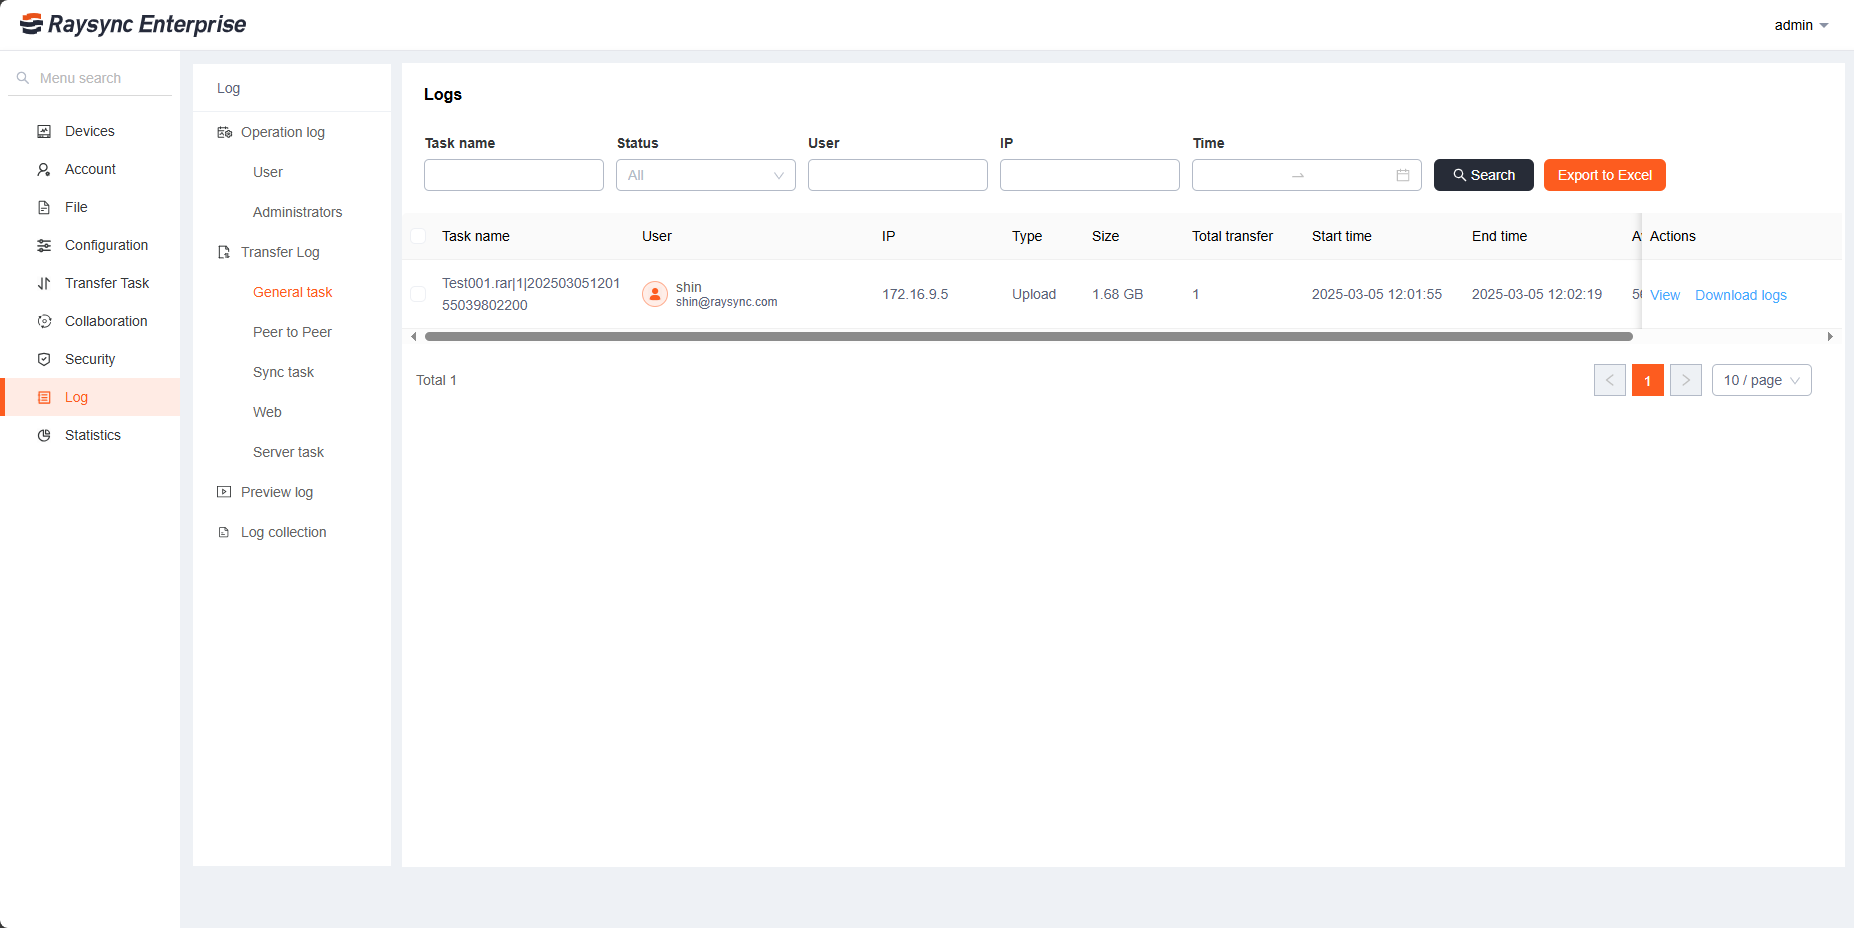
Click [Log] to view the operation logs of administrators and front desk users, as well as logs for various types of transfer tasks and user video previews.
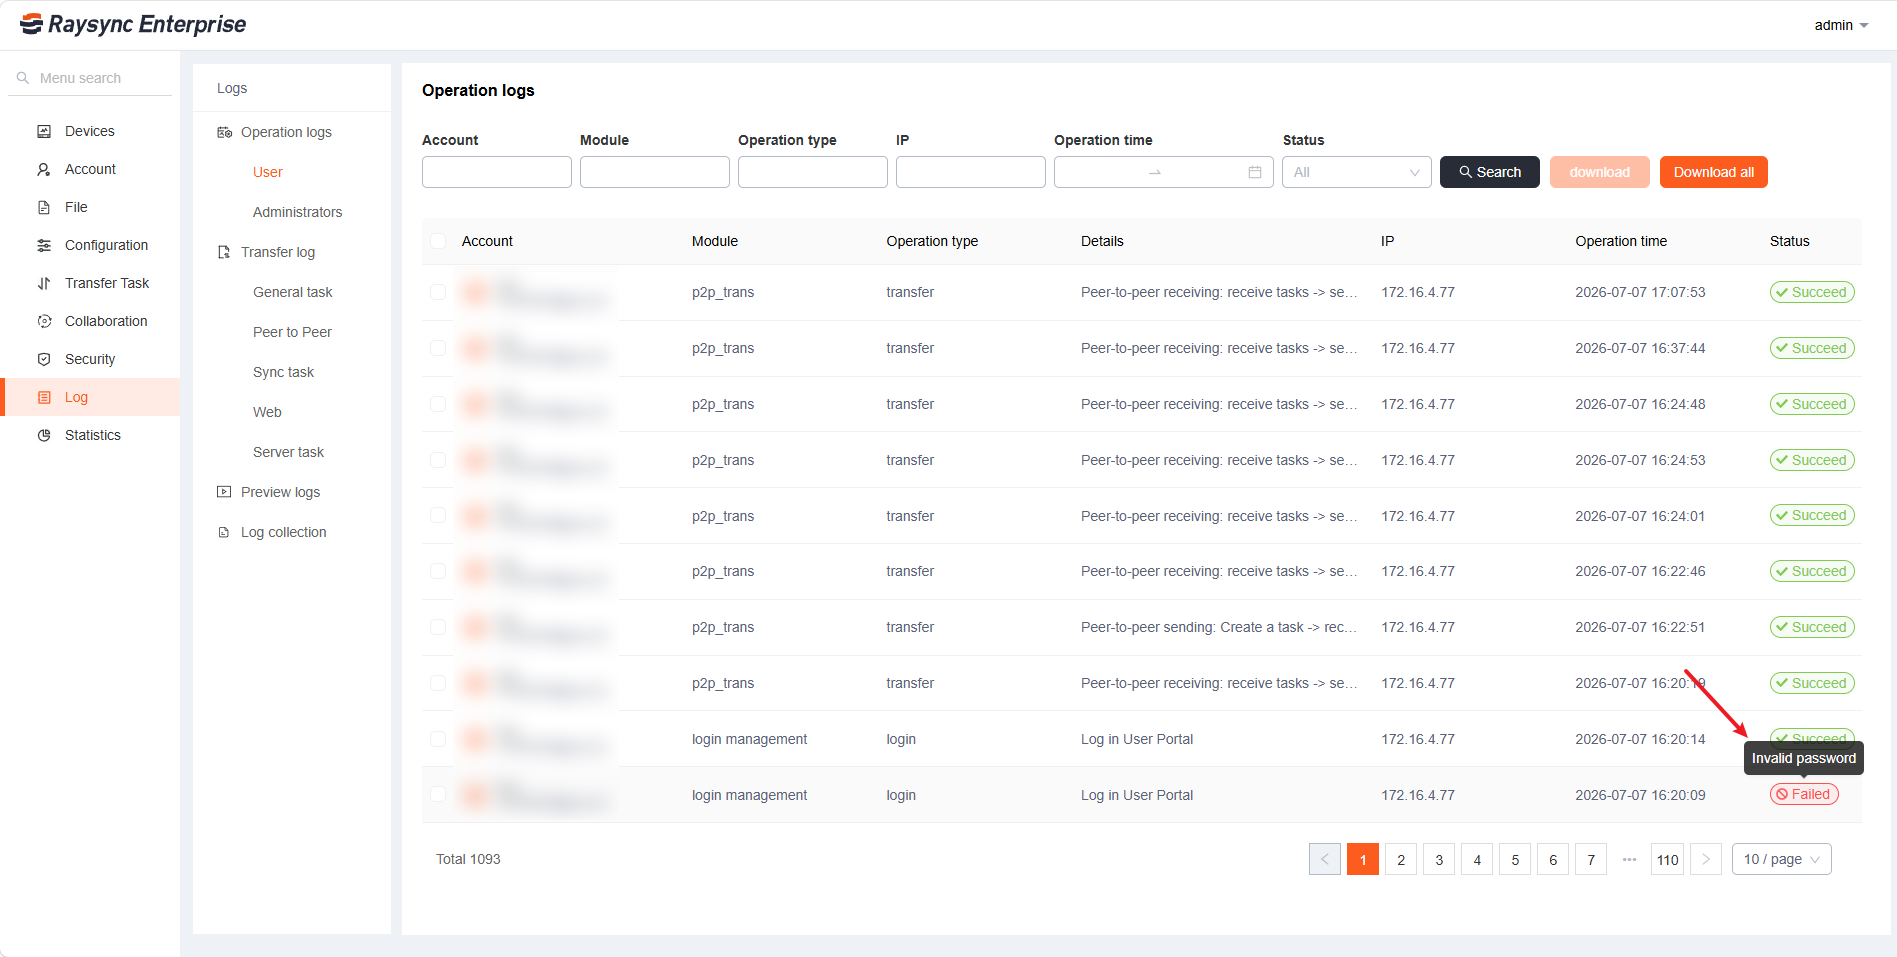
Detailed fault cause information has been added to the operation log for failed records to facilitate faster troubleshooting.
2. Log Collection
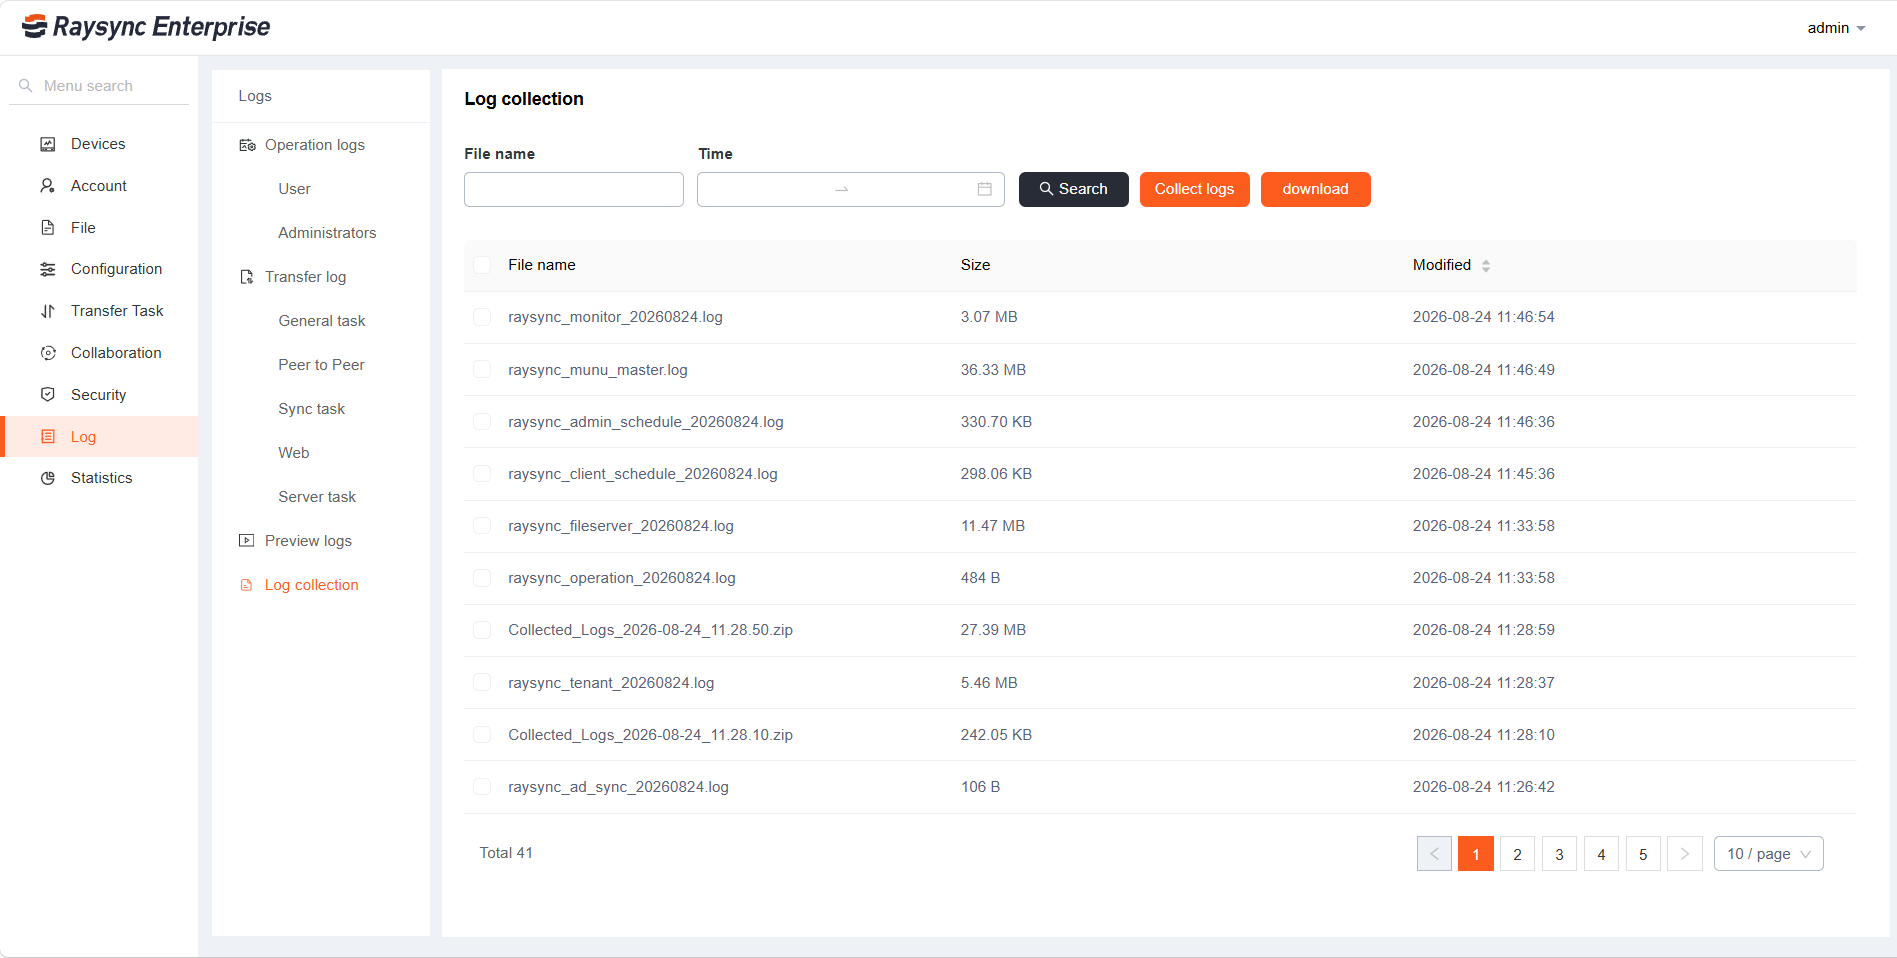
The Log collection allows administrators to collect server logs and online client logs from the Admin Portal. The collected logs are packaged into a ZIP file for download, helping technical support teams diagnose and troubleshoot issues more efficiently.
2.1 Collect Logs
1. On the Log collection page, click Collect logs.
2. In the **Collect logs** dialog, select one or both of the following log types:
- Server logs: Collects logs generated by the Raysync server.
- Client logs: Collects logs from selected online clients.
3. If Client logs is selected, select one or more clients whose logs you want to collect:
4. In Log time, select the start and end time of the logs to be collected.
5. Click Start.
6. Wait for the log collection task to finish.
7. After collection is complete, a ZIP package named in the following format appears in the log list: Collected_Logs_YYYY-MM-DD_HH.MM.SS.zip
2.2 Search for Log Files
Use the filters at the top of the page to find a log file or collected log package:
1. Enter all or part of the file name in File name.
2. Select a time range in Time if required.
3. Click Search.
4. The system displays files that match the specified conditions.
Clear the search conditions and click Search again to display all available files.
2.3 Download Logs
1. Locate the required log file or collected ZIP package.
2. Select the checkbox next to the file.
3. To download multiple files, select the checkboxes next to all required files.
4. Click download.
5. Save the downloaded file to the required local directory.